
Flash phone with recovery image - TWRP
Every Android phone has a "recovery“ partition which is by default used for performing factory resets using an OEM’s preloaded tools. However, this partition can be modified in order to replace the default tools by third-party recovery tools such as TWRP.
These recoveries are (unlike the stock ones) capable of modifying all the internal system partitions of your phone or tablet (they need this capability in order to flash custom firmware).
TWRP even comes with a built-in file manager with unlimited root access so you can modify, add or delete any system files manually. This process allows you to gain a physical image, therefore bypassing the otherwise locked device´s protection.
If the image is encrypted by the system itself, we are only able to get the encrypted physical image.
The device has to have its bootloader unlocked in order to proceed with this method.
Before we start this procedure, be aware that everything you do is at your own risk, every device does behave differently.
How to
Download TWRP for your device (you can use for example a page: twrp.me).
Once you will have the .img file, load MOBILedit Forensic and navigate to the "Security bypassing" and select "Connect Fastboot" or “Connect Odin” for Samsung devices.
.png?inst-v=545b5936-30bf-4220-910c-0612fca7bef5)
3. Select a device from the list, put the device to Fastboot mode, and follow on-screen instructions.
.png?inst-v=545b5936-30bf-4220-910c-0612fca7bef5)
4. When the device is connected in fastboot mode, choose “Flash custom recovery”.
.png?inst-v=545b5936-30bf-4220-910c-0612fca7bef5)
5. Import the flashing .img file.
.png?inst-v=545b5936-30bf-4220-910c-0612fca7bef5)
6. Proceed with the installation.
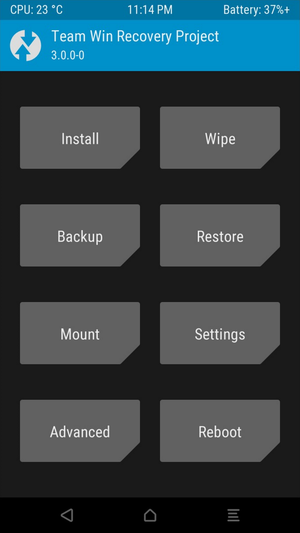
7. If the phone did not boot into TWRP right away, access it manually by holding vol. UP + Power + Home button.
If you see this on your device and computer, you have done everything correctly.
8. Proceed as you would do a normal extraction. If you want to just extract information into pdf.
Where to find the physical image for later use
We suggest clicking on the "Create physical image" button. Our software will determine which of the file in your device is the physical image and will begin creating.
If the button will not appear
Click the "Browse phone" button.
If a pop-up message appears with a warning that you have an old connector just click no
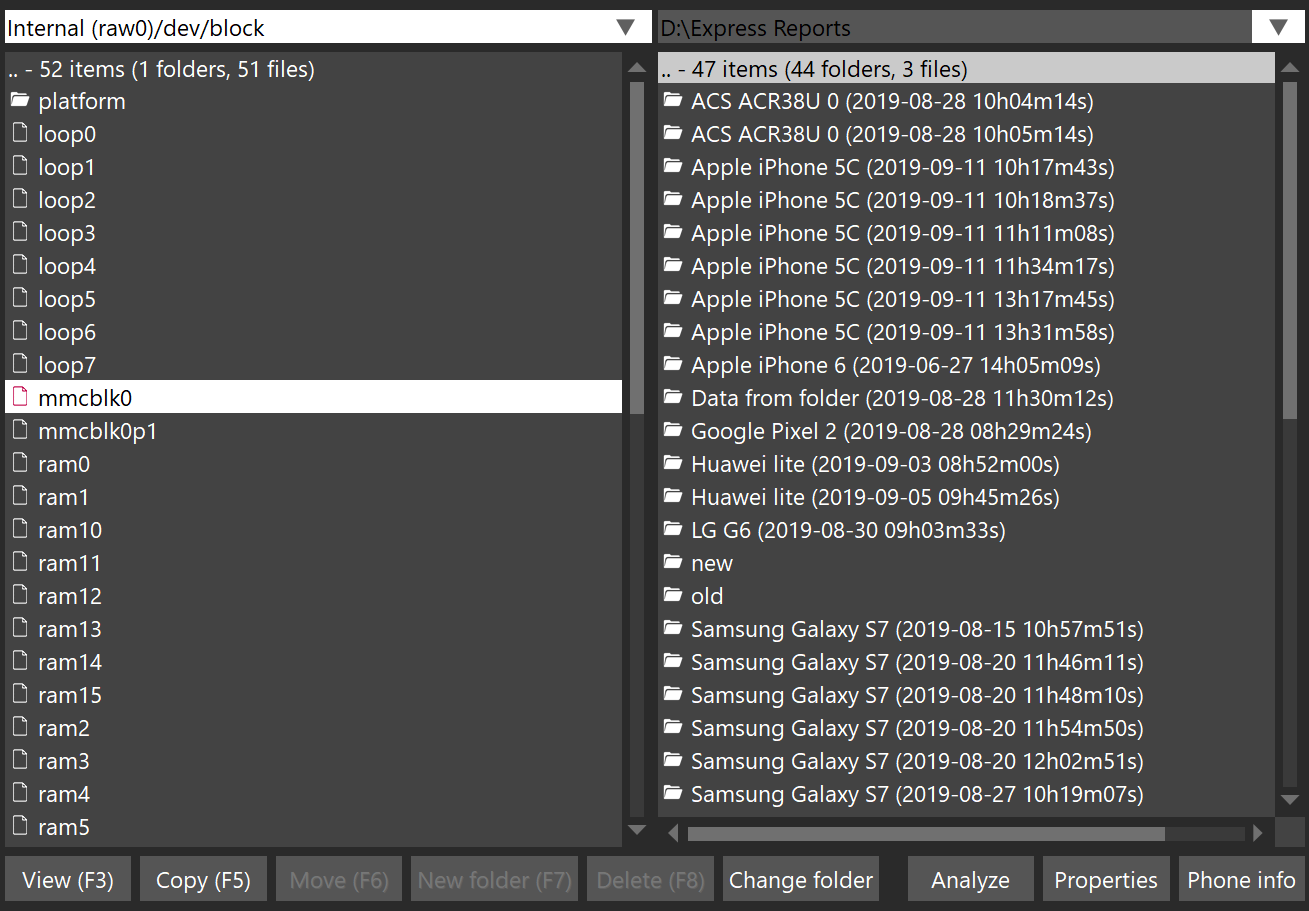
2. Navigate through internal (raw0) > dev > block.
There you should see a file called mmcblk0, copy that file to whatever folder you want by pressing F5 or the copy button.
If you do not see the file mmcblk0 then there is a possibility that the physical image might be called differently, if that would occur please contact our customer support.
(on the right side you can choose the destination)
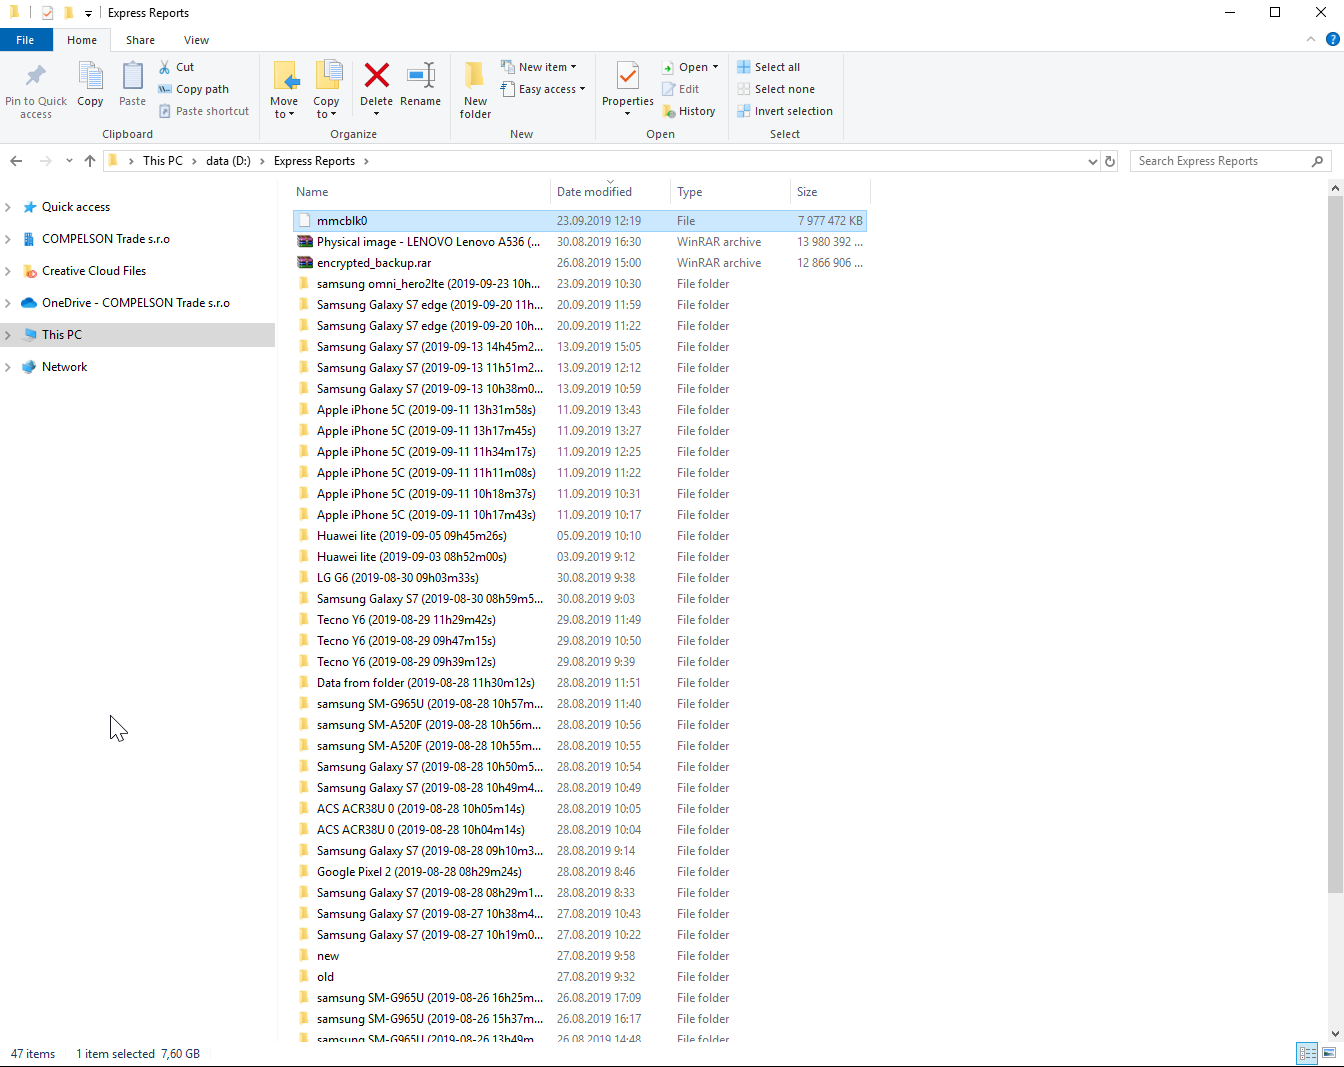
3. After the copying is finished, you should see the file in the desired folder.
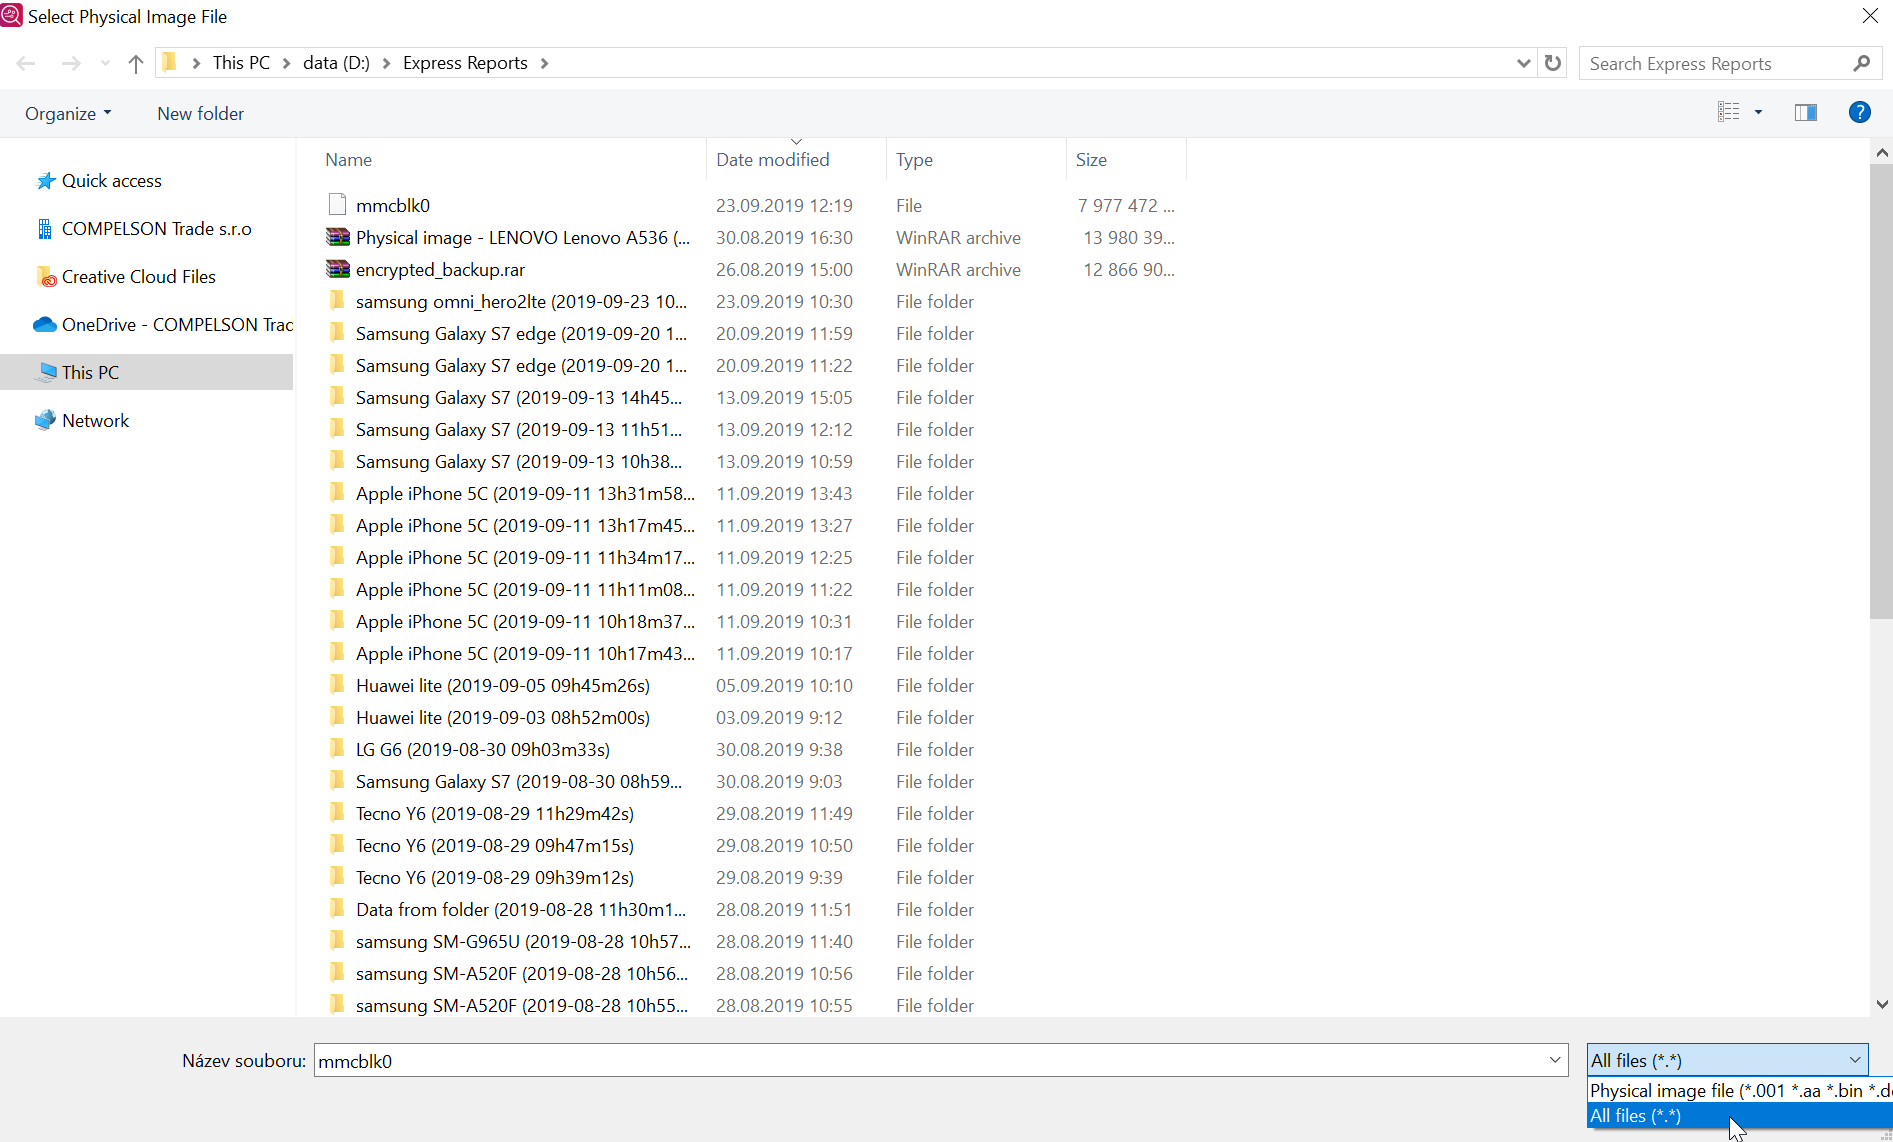
If you would like to analyze this file later, then you need to click on the "Import data" button in MOBILedit Forensic and choose the "Physical image". Keep in mind that you need to select all files in the bottom right corner for mmcblk0 to show up, as seen in the screenshot below.
Procedures like this may cause irreversible harm to your device, please proceed with extra caution.
Feel free to contact us if you are not sure, we cannot take responsibility for the wrong image or any damage caused during this procedure.