

MOBILedit Forensic supports a wide variety of Android phones except for some special, incompatible or rare models. All iPhone models without exception. Windows Phones only with limited possibilities and most feature phones.
The following guides based on specific operation systems will explain everything you need to know in order to successfully connect your phone to MOBILedit Forensic.
Download our printable instruction sheet here.
The phone connection wizard will guide you through simple-to-follow instructions, allowing even a novice to work with the product. It also eliminates stress by showing you which setting you need and what buttons to press to make sure your phone connects every time.
If a phone connected to the computer was not auto-detected by the program, you can manually connect it with the help of the connection wizard.
“How to connect” wizard
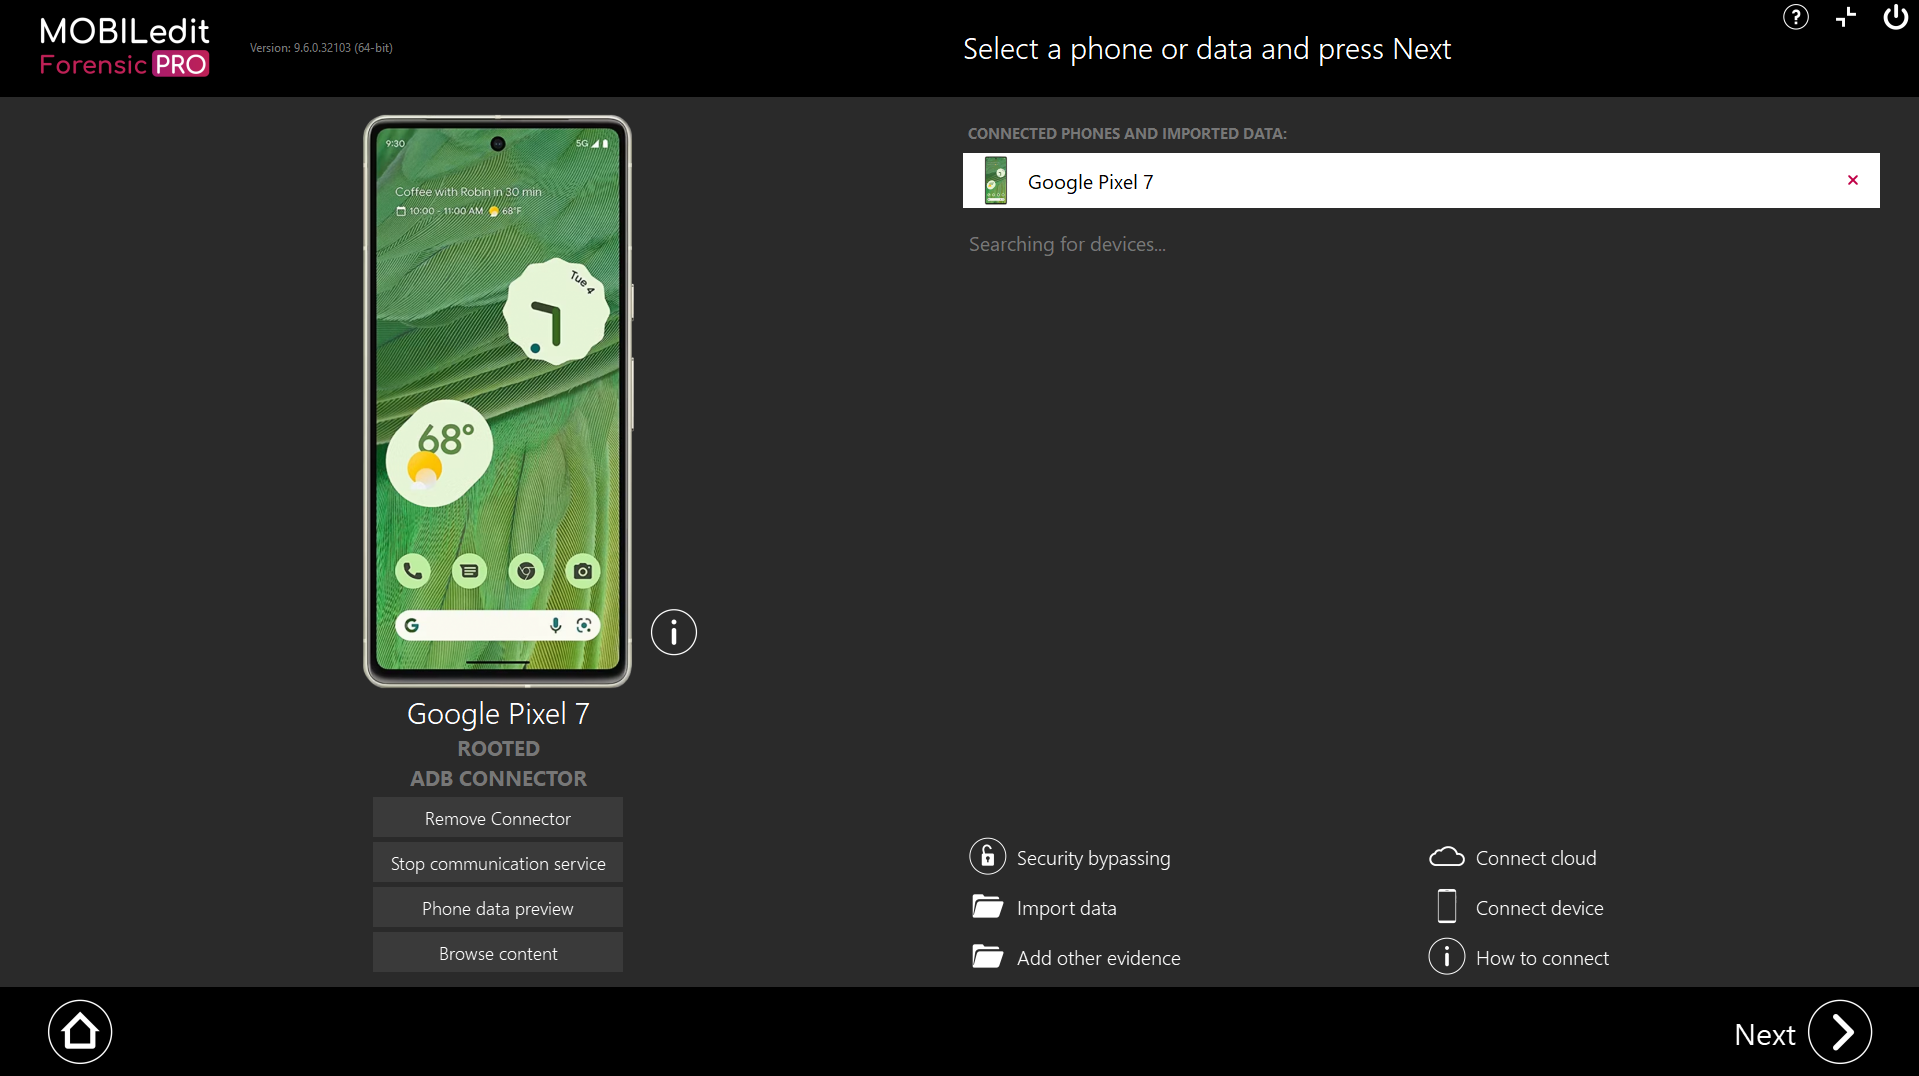
On the intro screen, select “How to connect”.
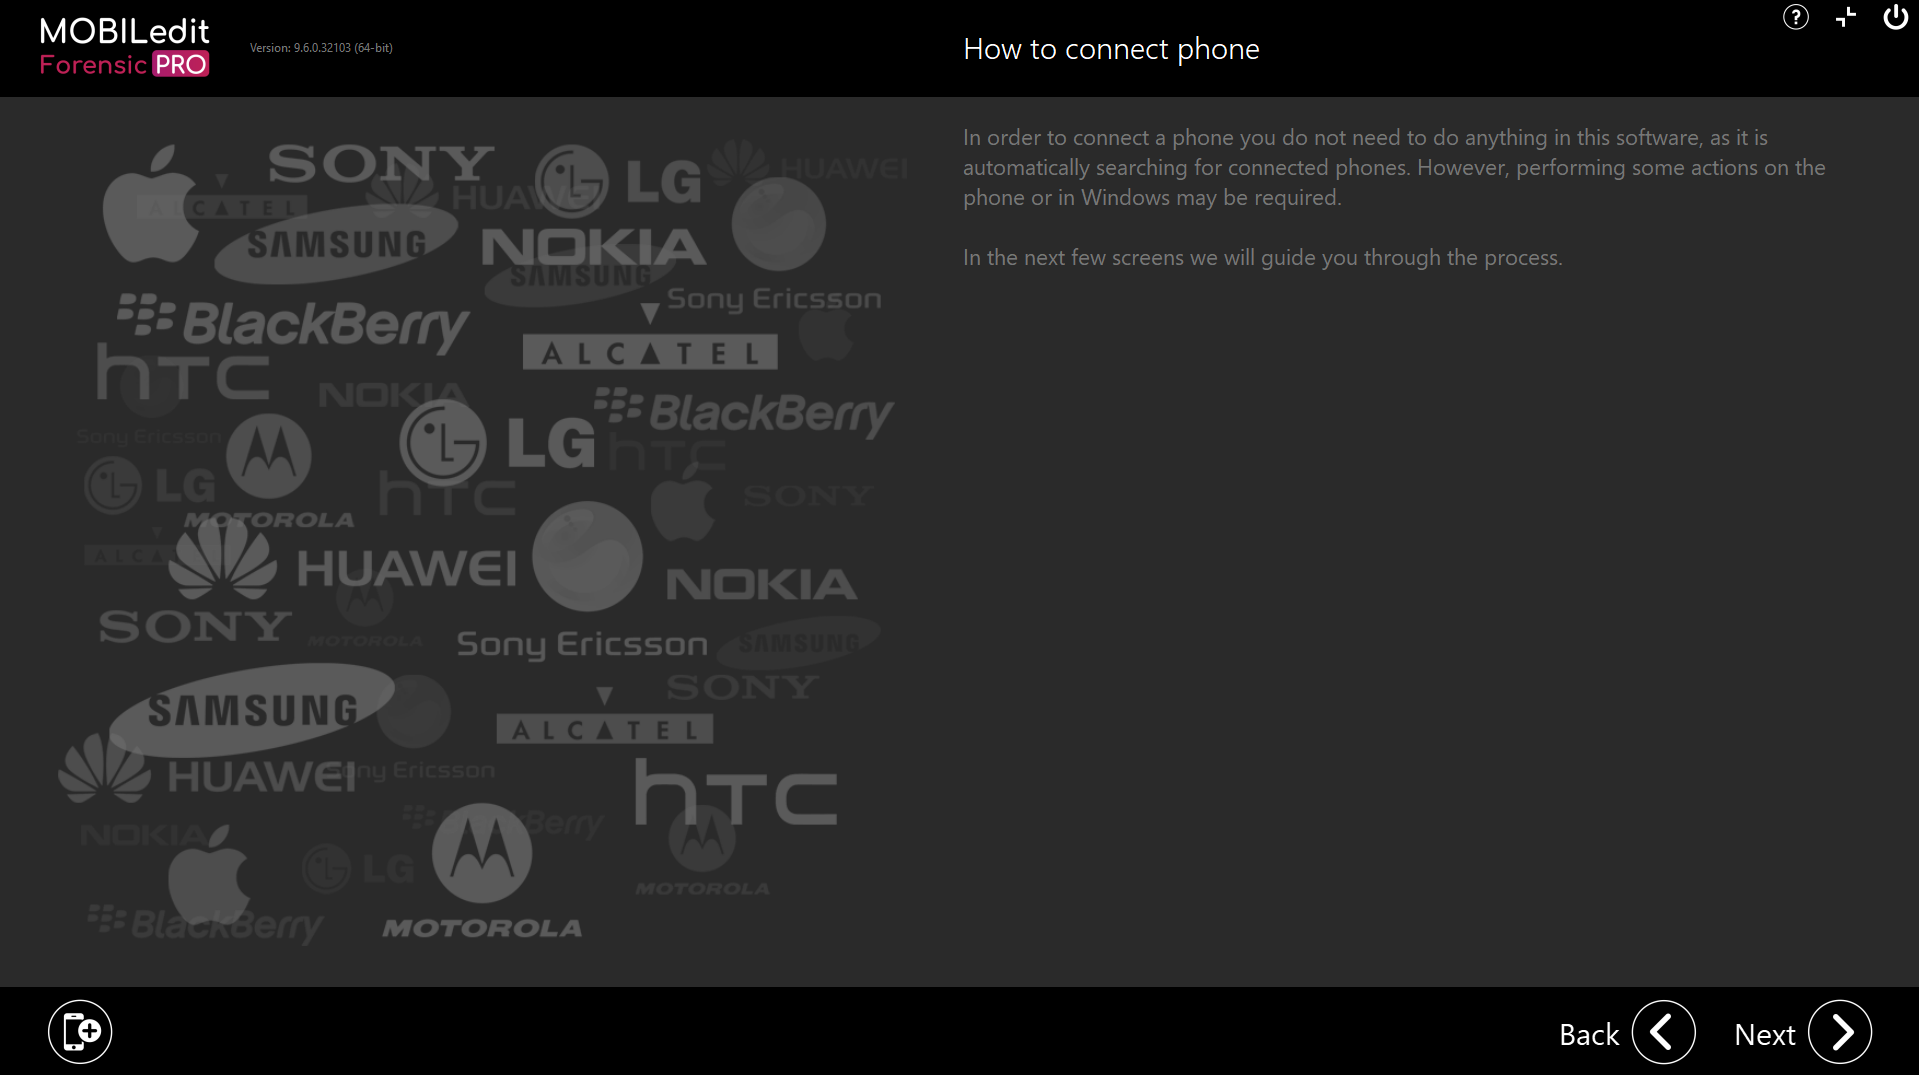
The next screen will indicate that the program should auto-detect all phones; however, there could be some problems with drivers or phone settings, preventing auto-detection.
If the connected phone still has not appeared on the intro screen, please click on the "Next" button and let the connection wizard help you with connecting the phone manually.
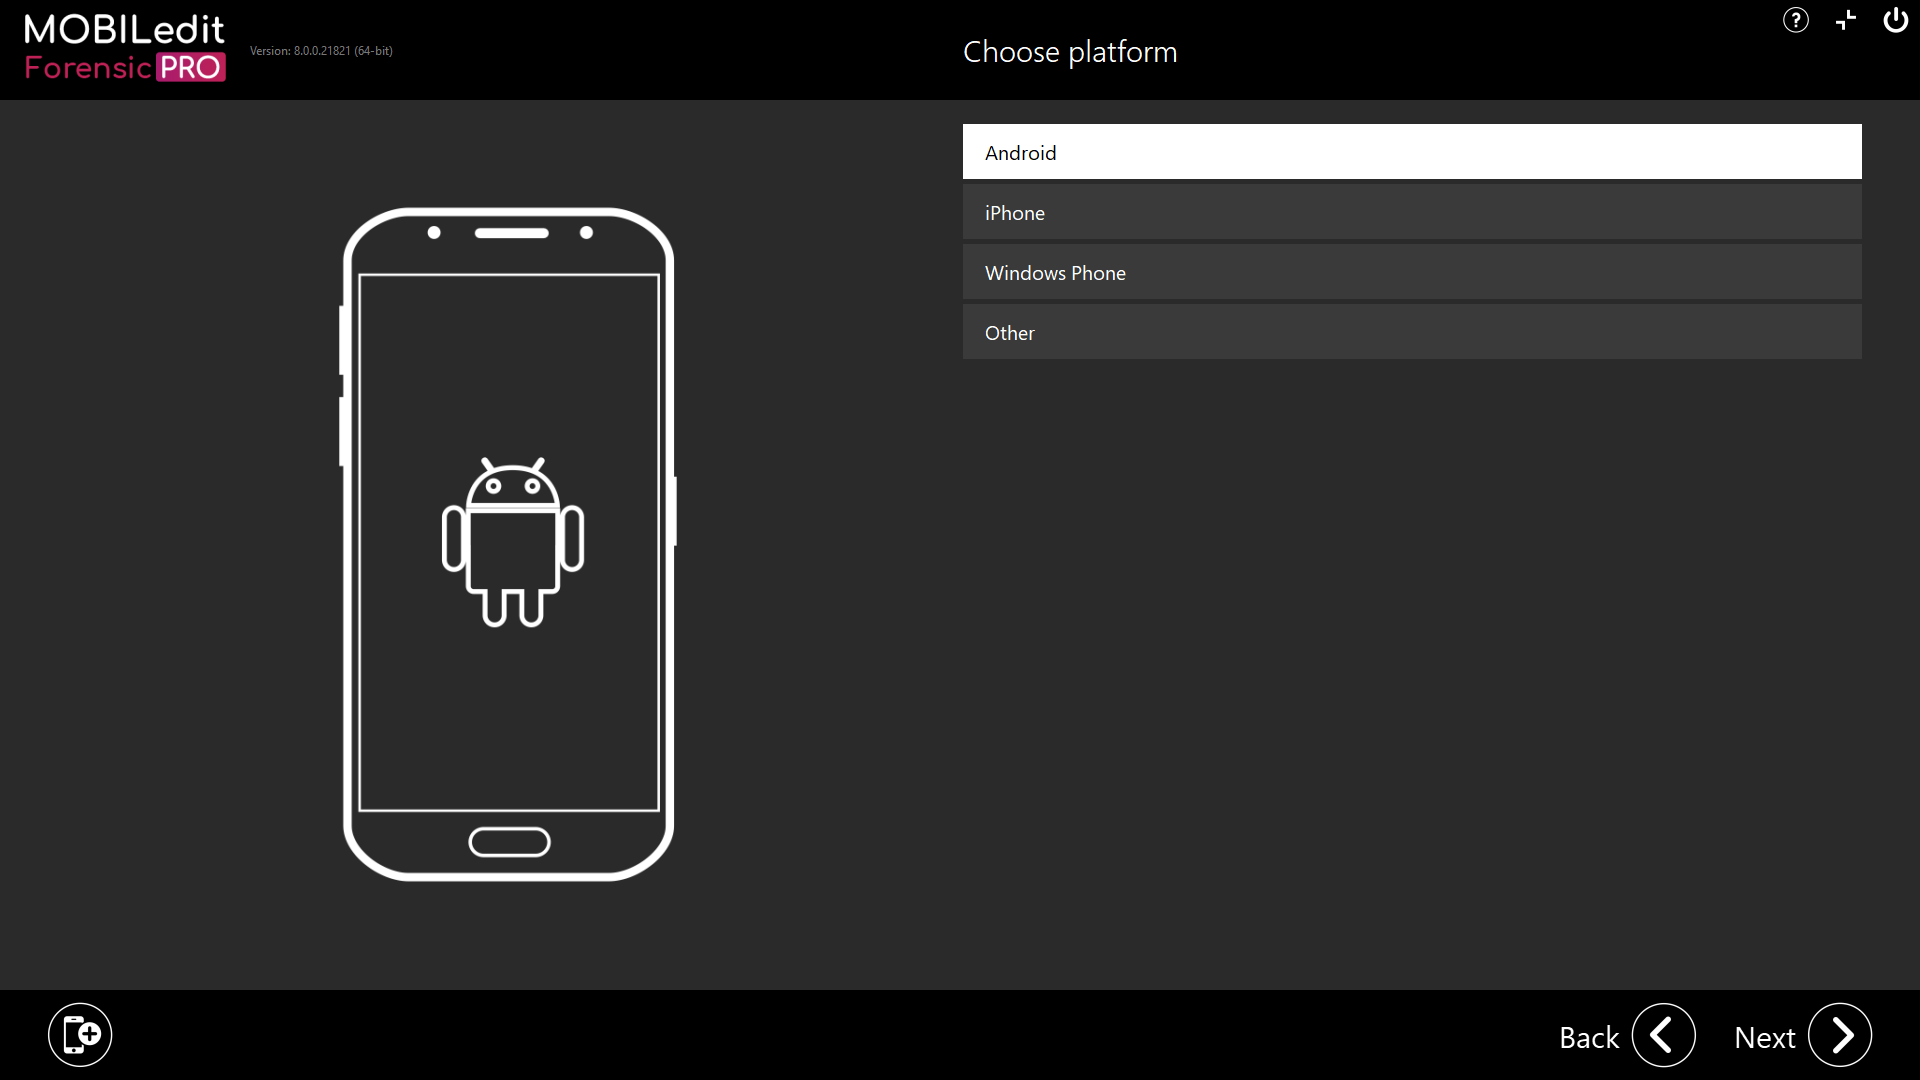
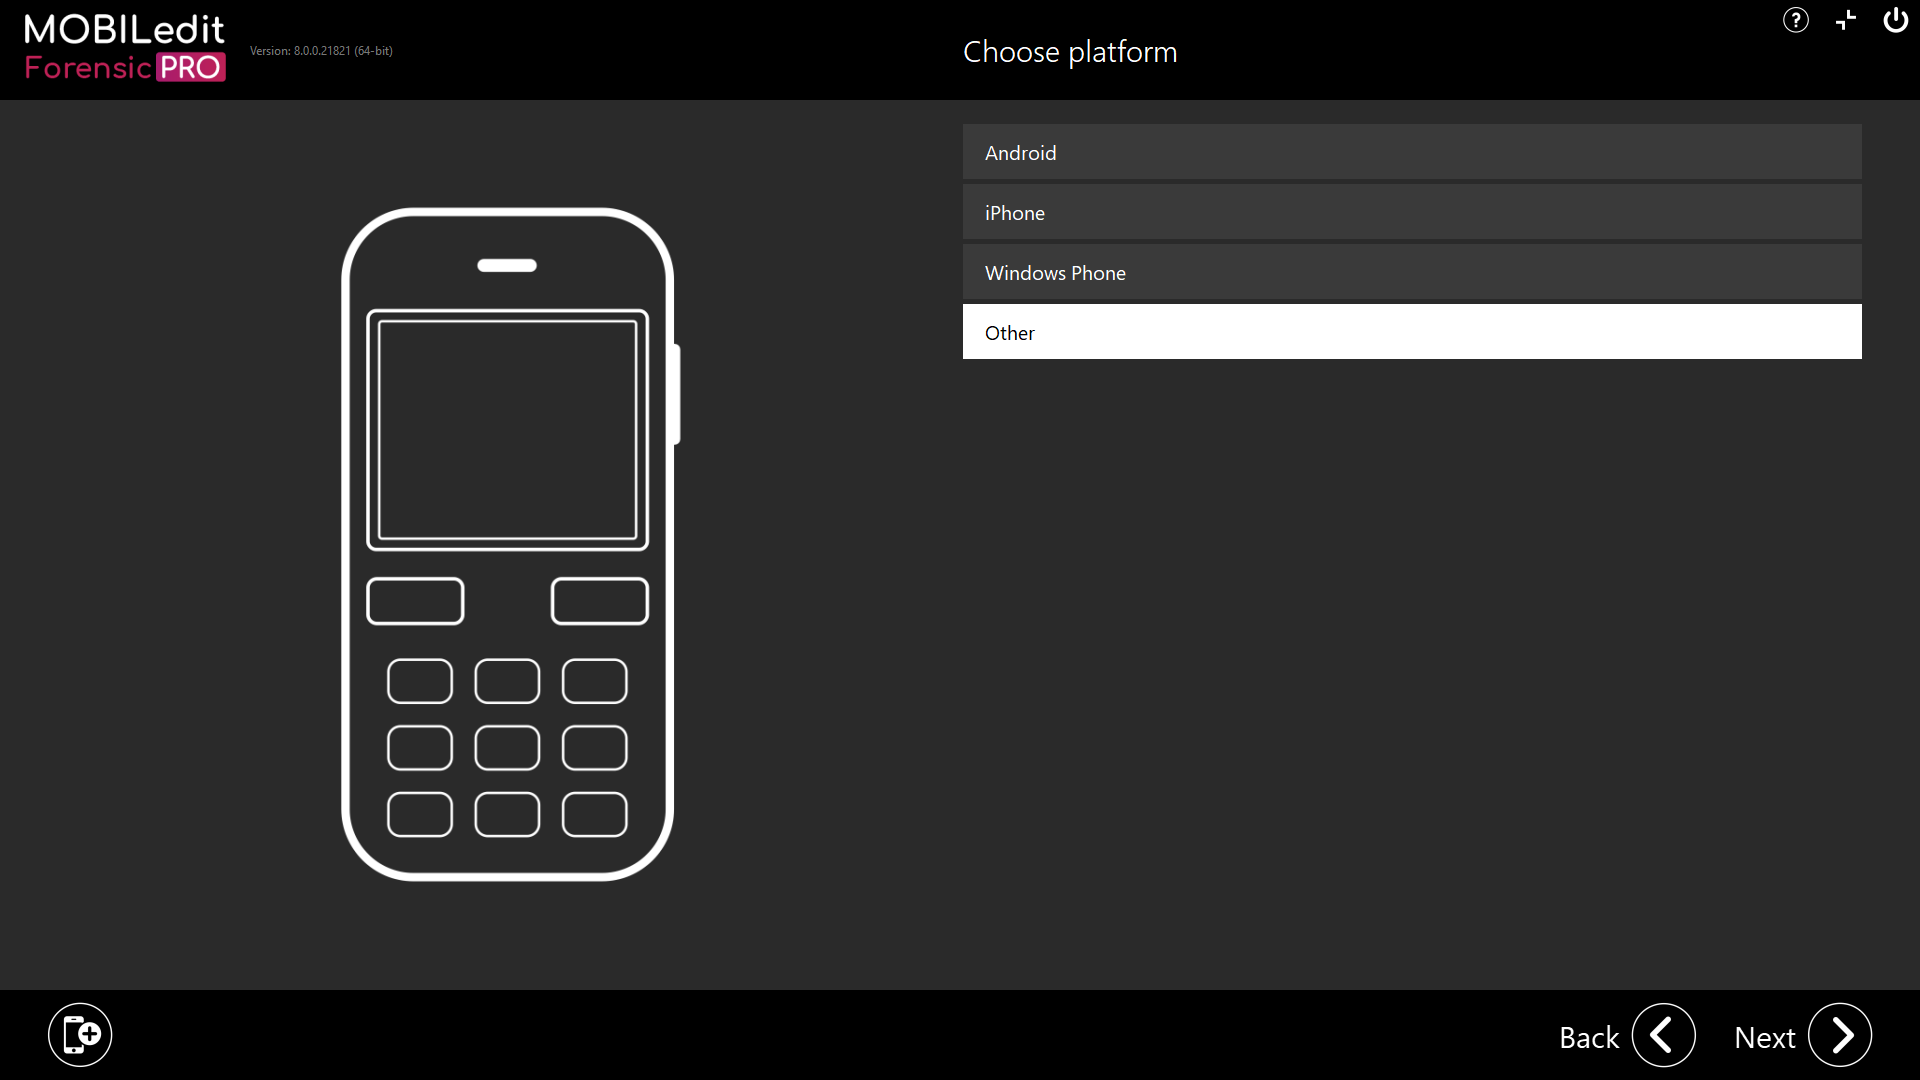
In the next step, you will choose the platform (operating system) of the phone. The options are the following: Android, iPhone, Windows Phone, Other (feature phones, etc.).
Please note that the Bluetooth connection is not a part of the Connection Wizard as it needs to be accessed through “Connect device”. It also requires a direct connection between the PC and the phone, which cannot be established from within MOBILedit Forensic, must be done in the Windows settings/options. More info on the BT connection could be found here for Windows Phones.
Android
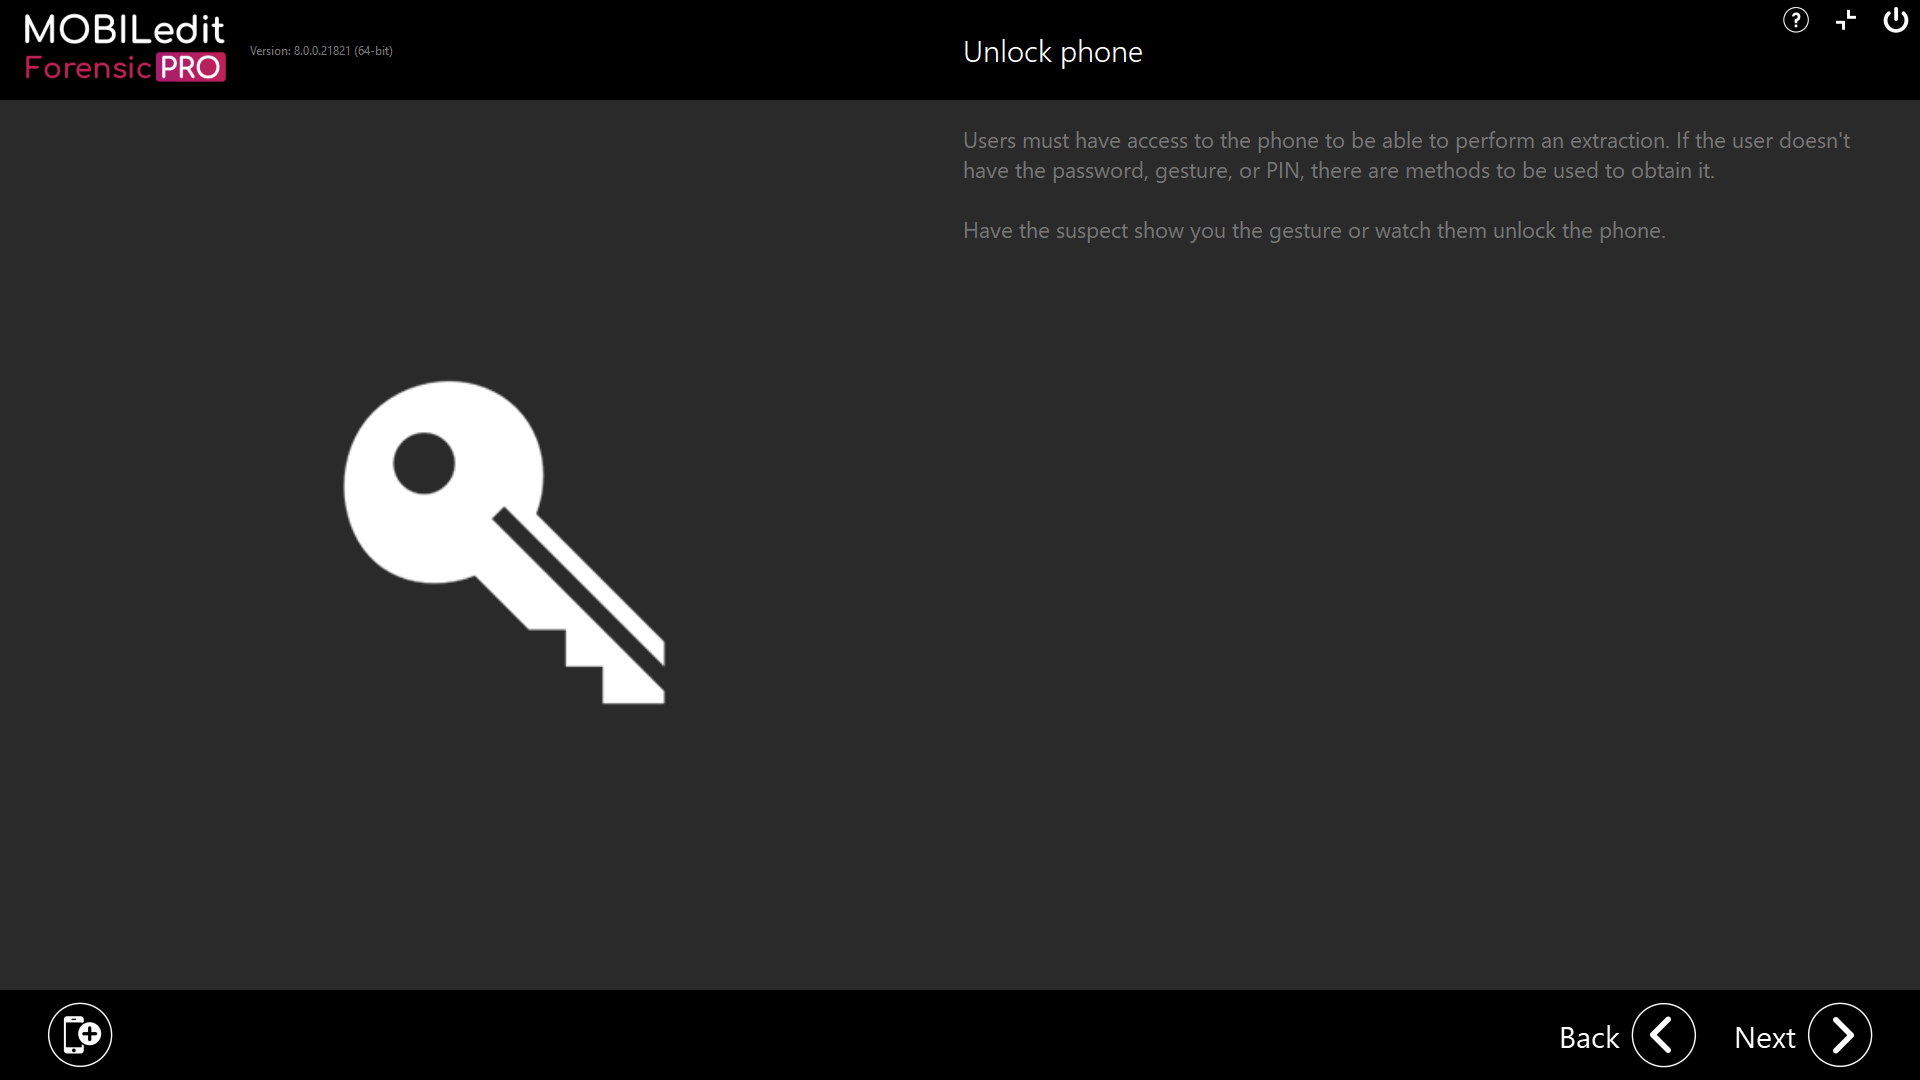
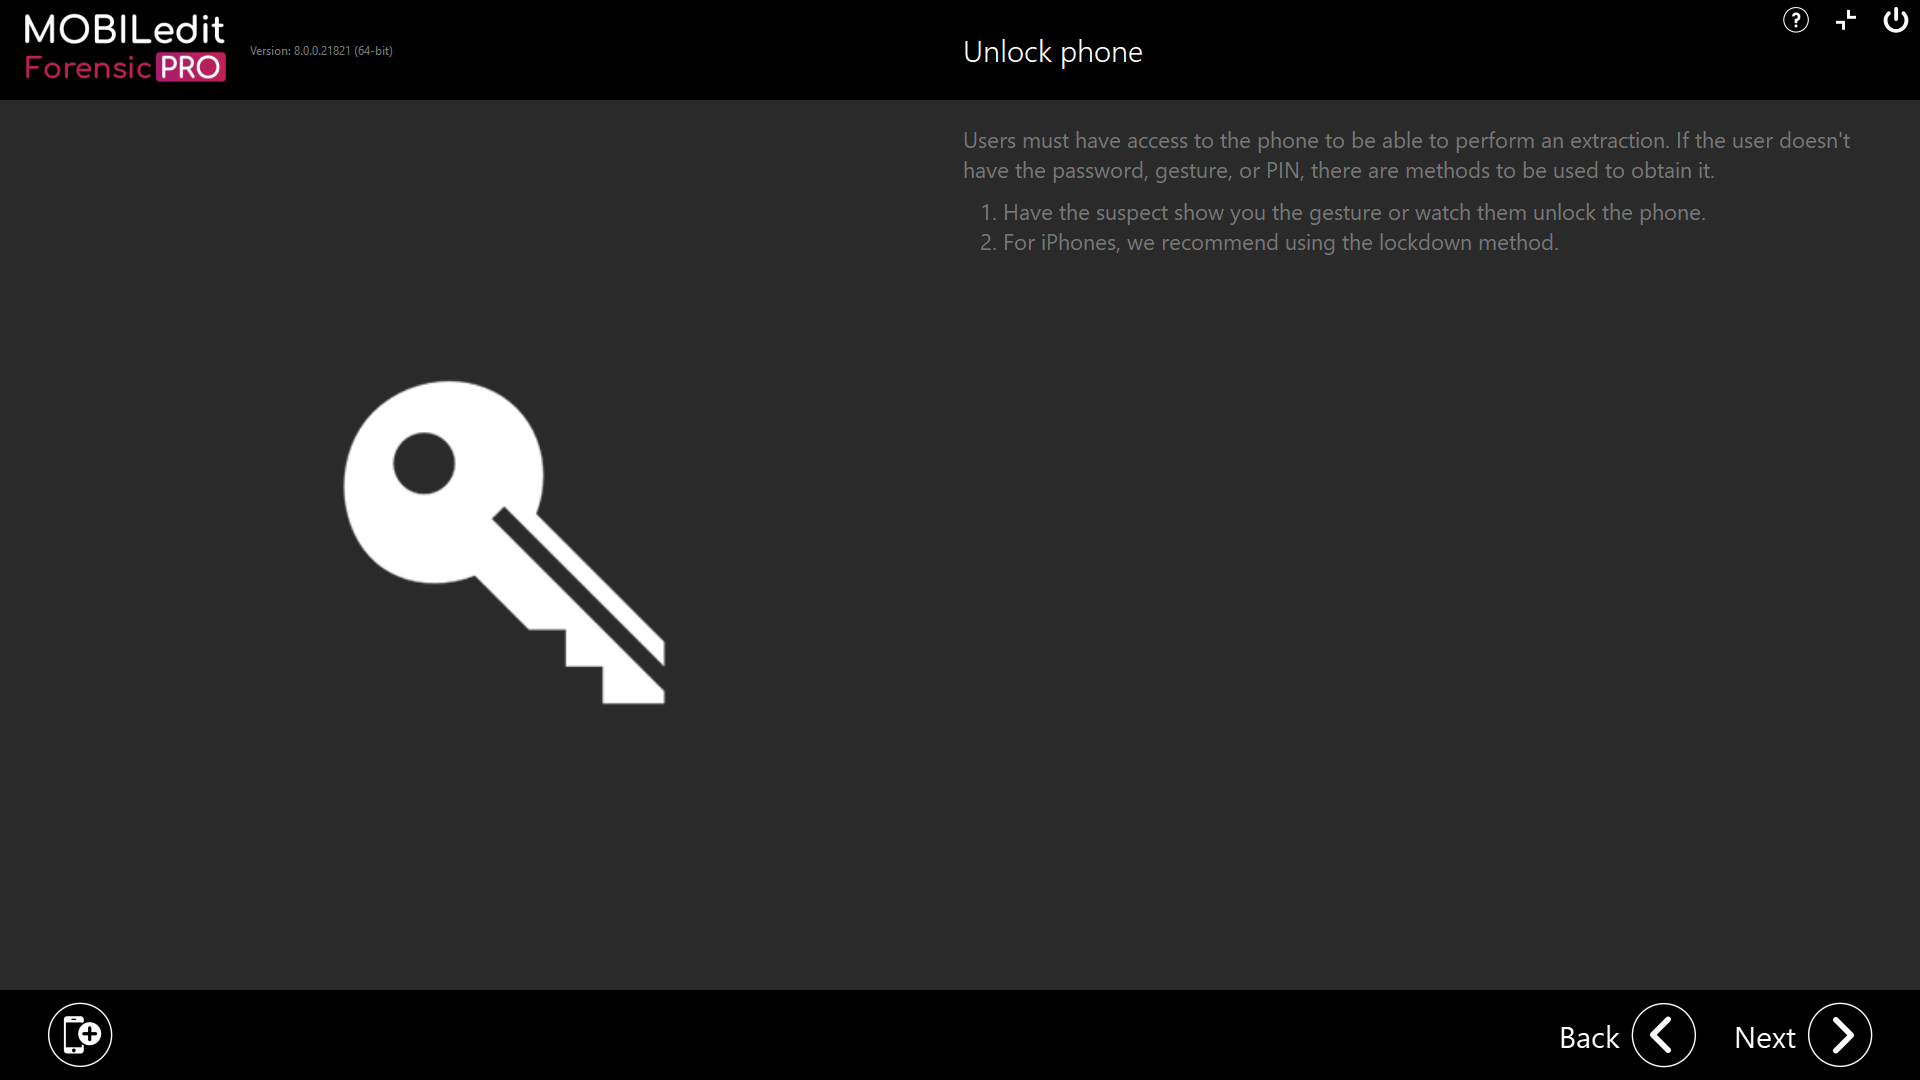
The first screen of the Android connection wizard shows a warning that unlocking the phone is essential for data extraction. Please have the phone unlocked.
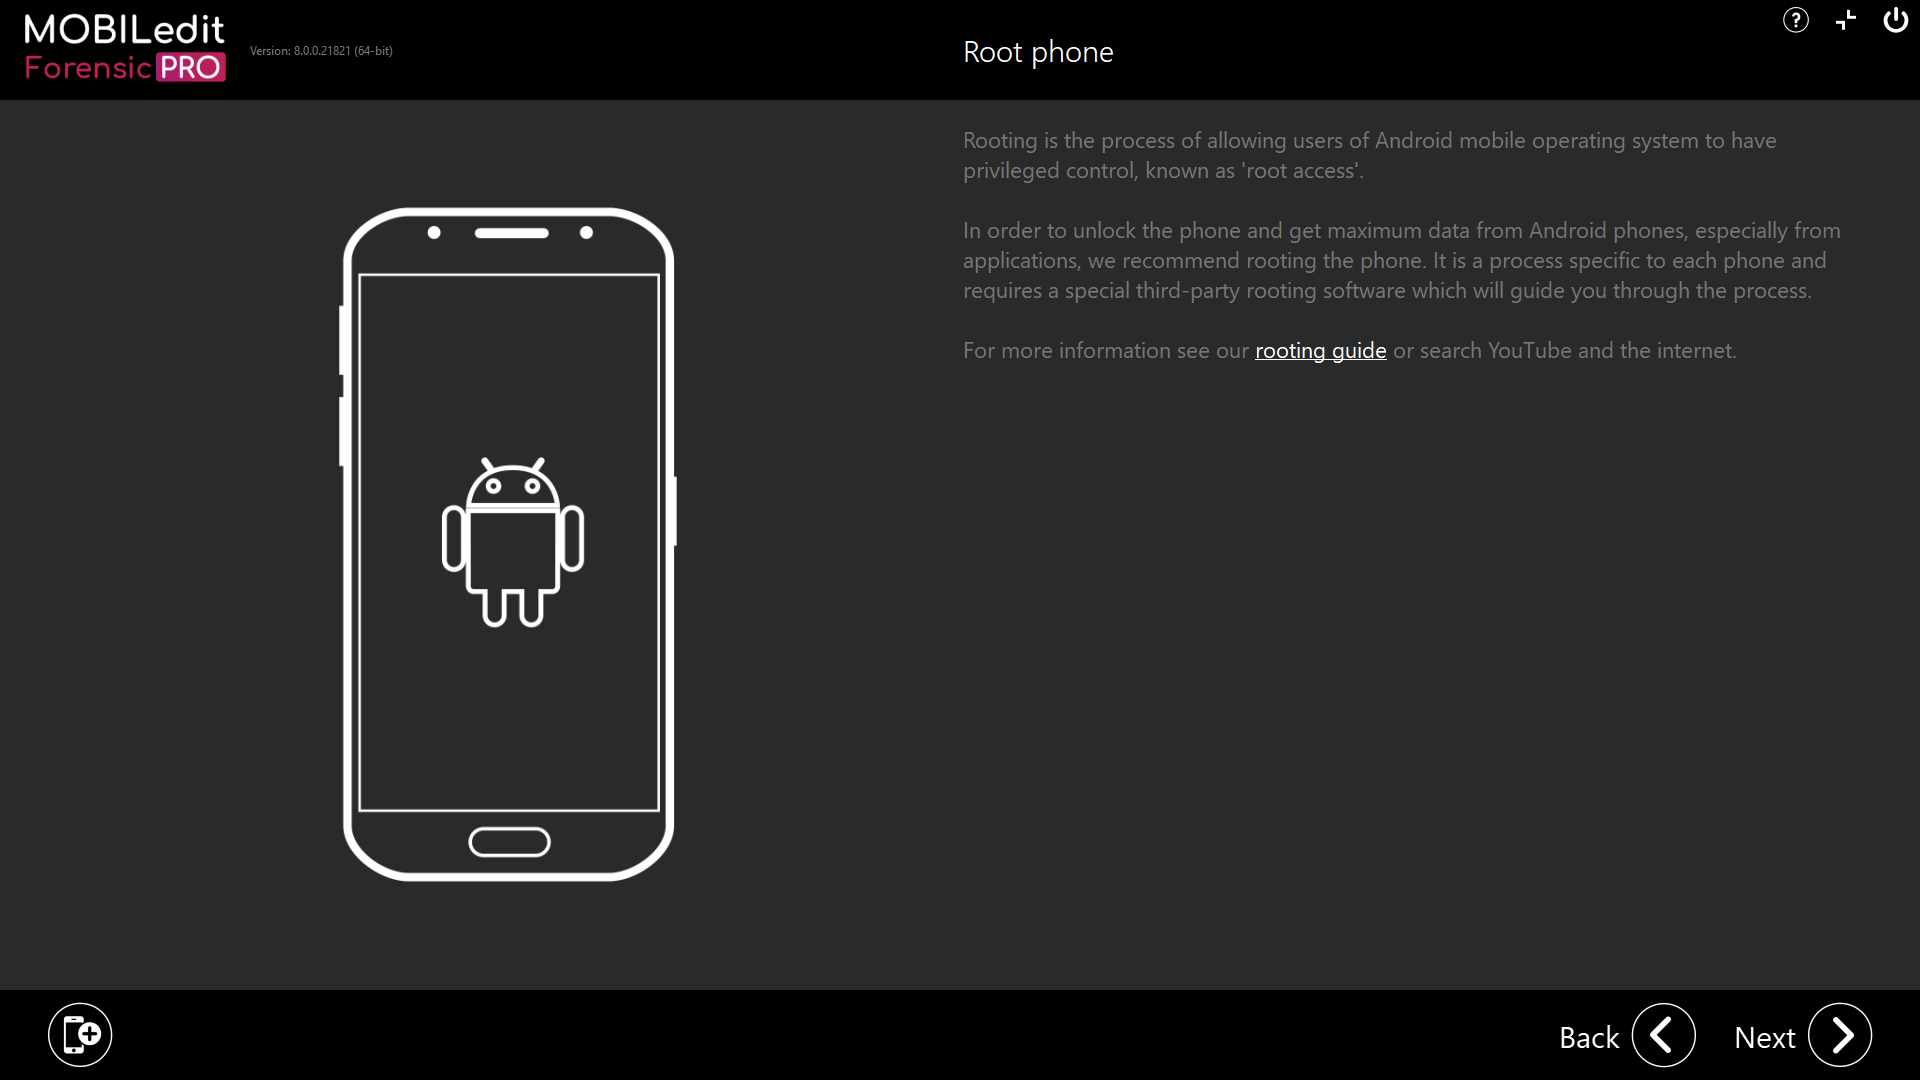
The next screen shows all info about rooting the device, which is a highly recommended step for Android devices because in most cases rooting the device will provide much more data from the phone.
More detailed info on how to root an Android phone is available here.
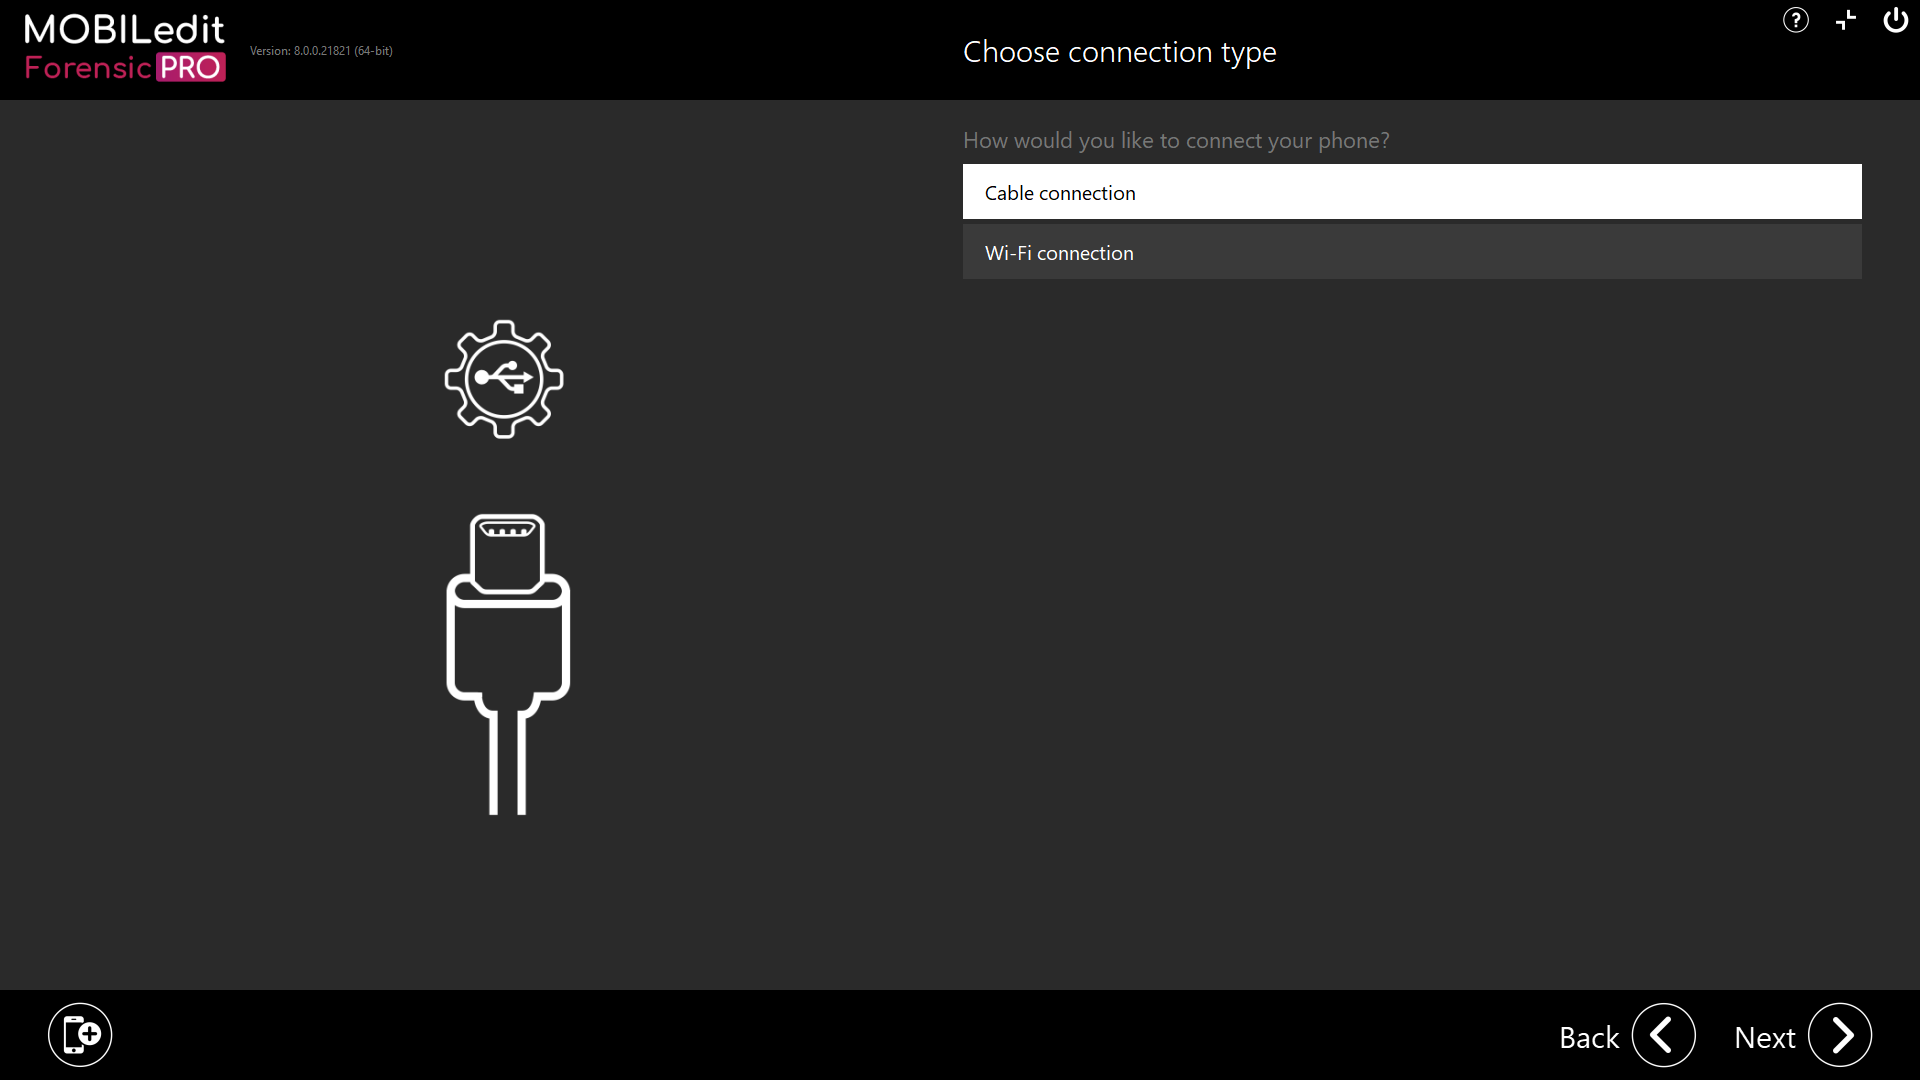
The next step allows the user to choose between the USB cable and Wi-Fi connection of the phone.
%20.PNG?cb=bb7cc568bdcdf339270c6a8d680a8722)
Cable connection
The first screen of the cable connection wizard asks the user to download and install the proper drivers for the phone. This step is absolutely necessary for the phone to work correctly with the program.

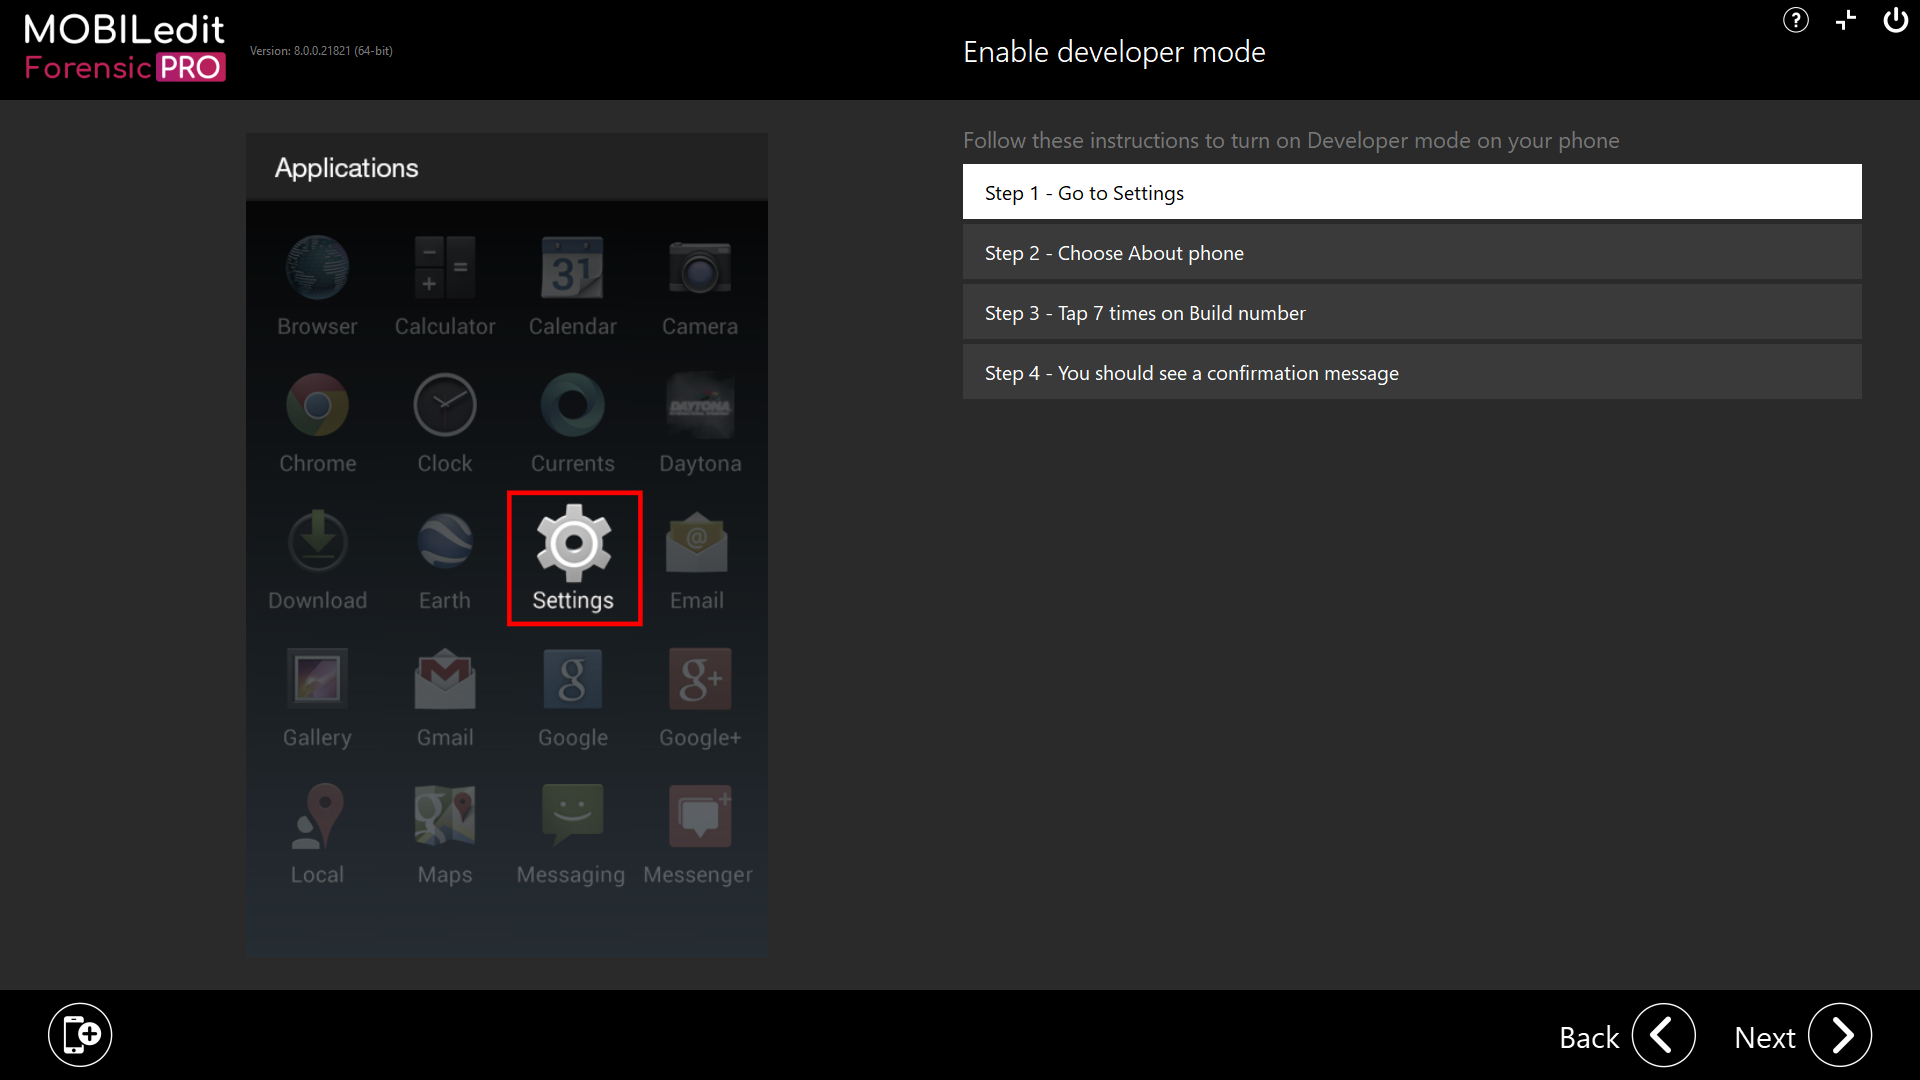
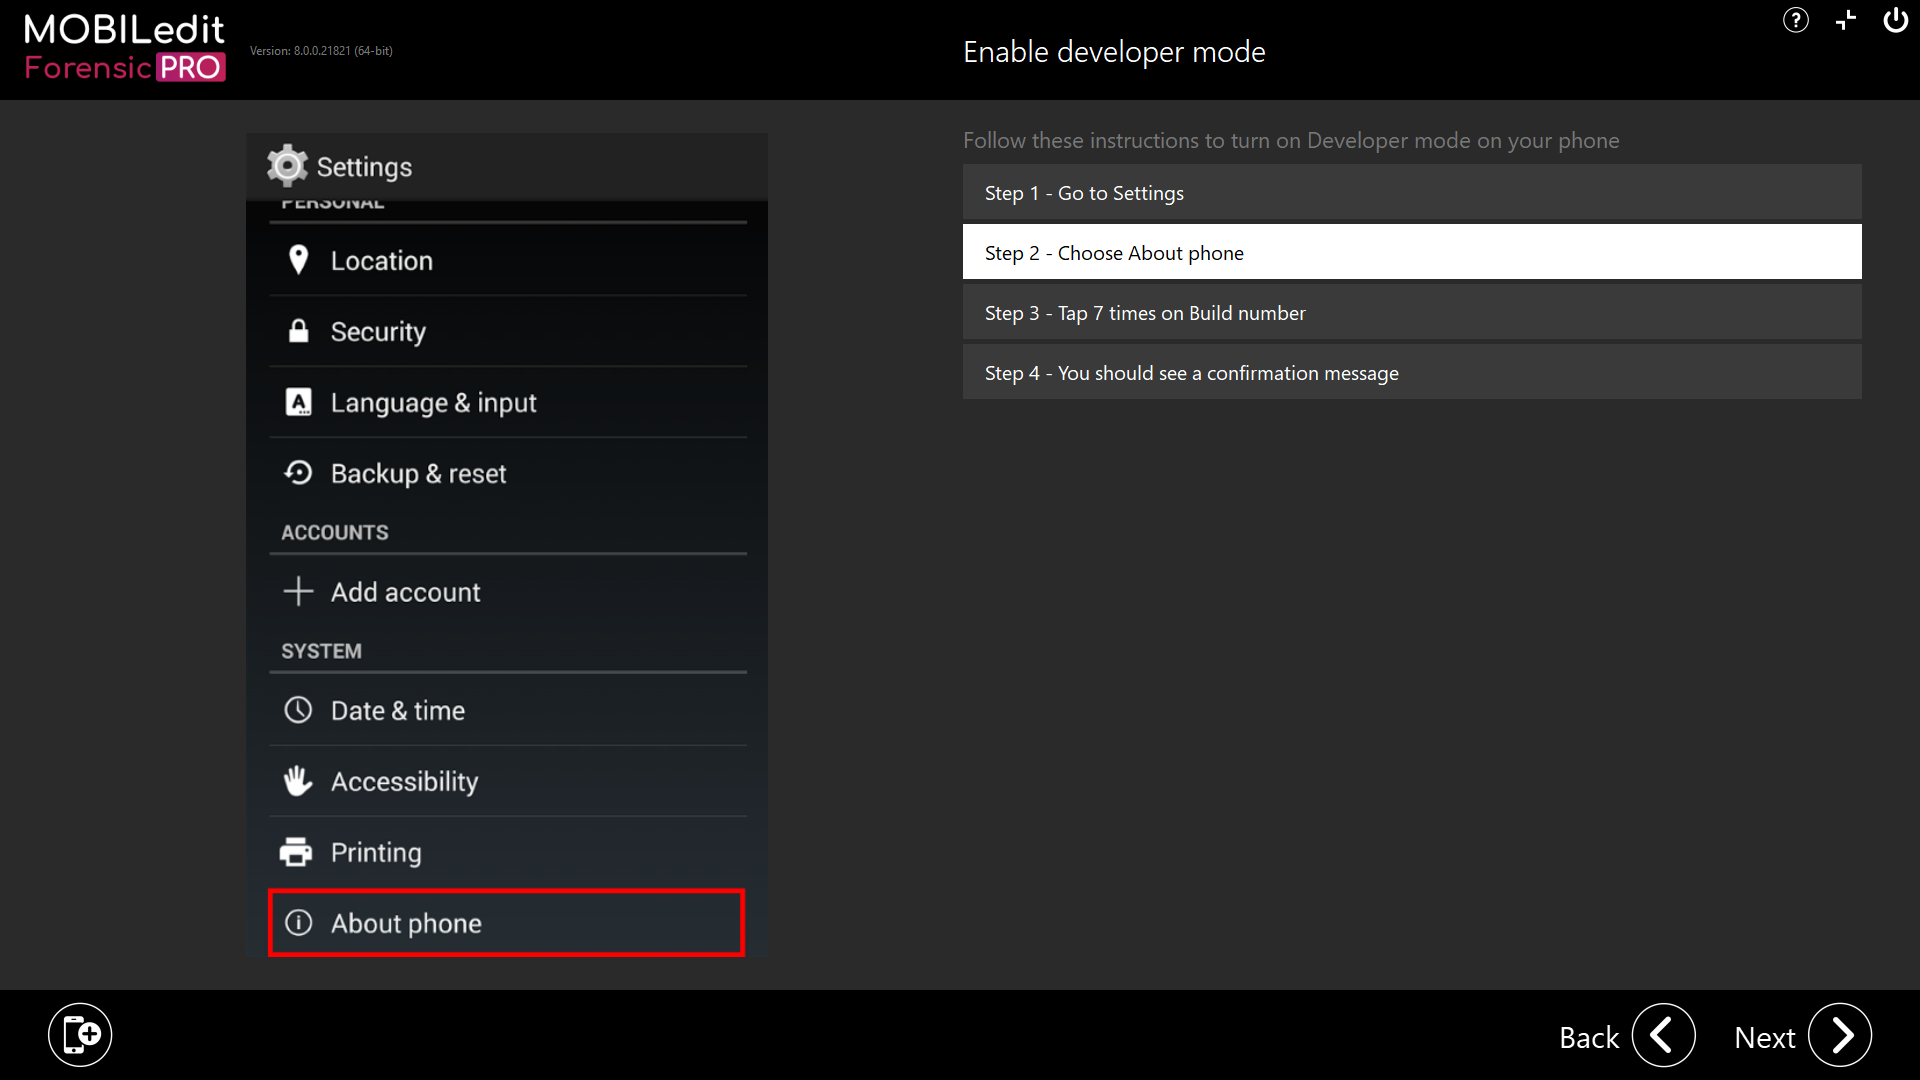
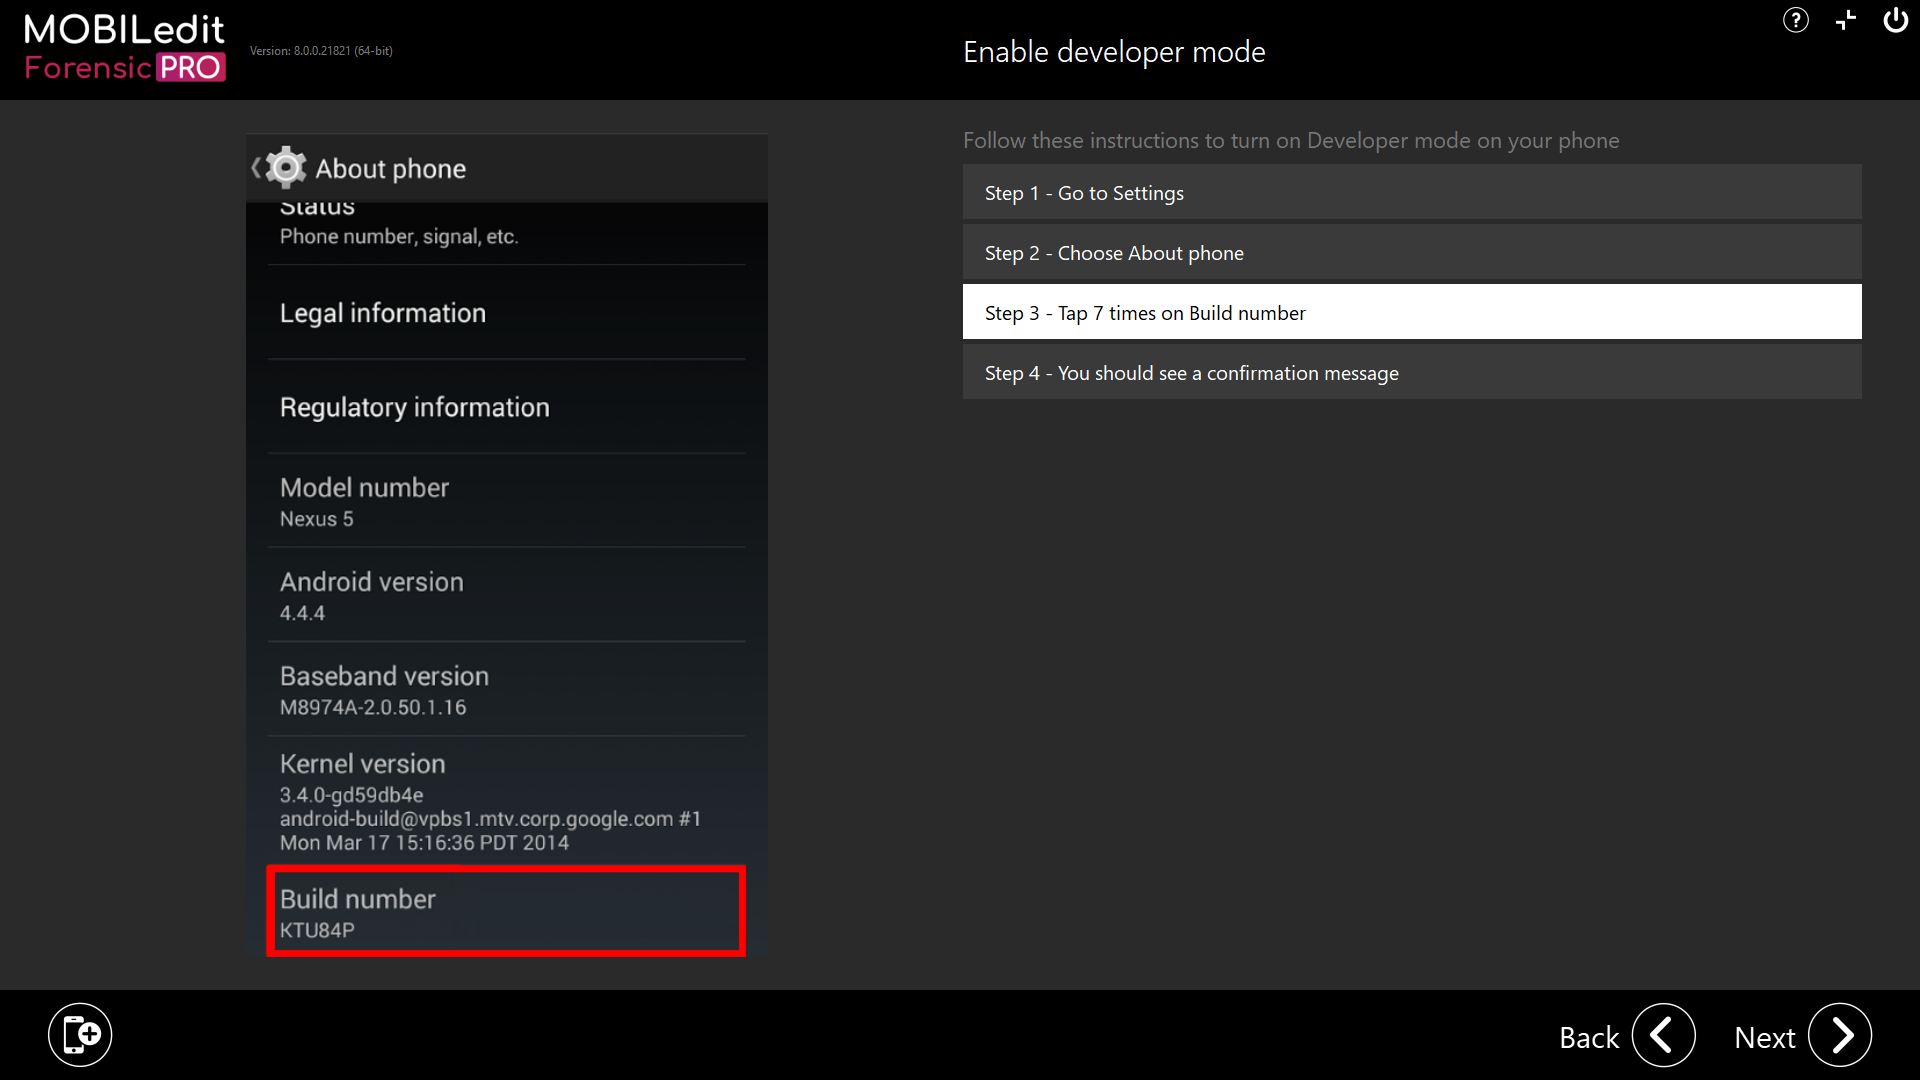
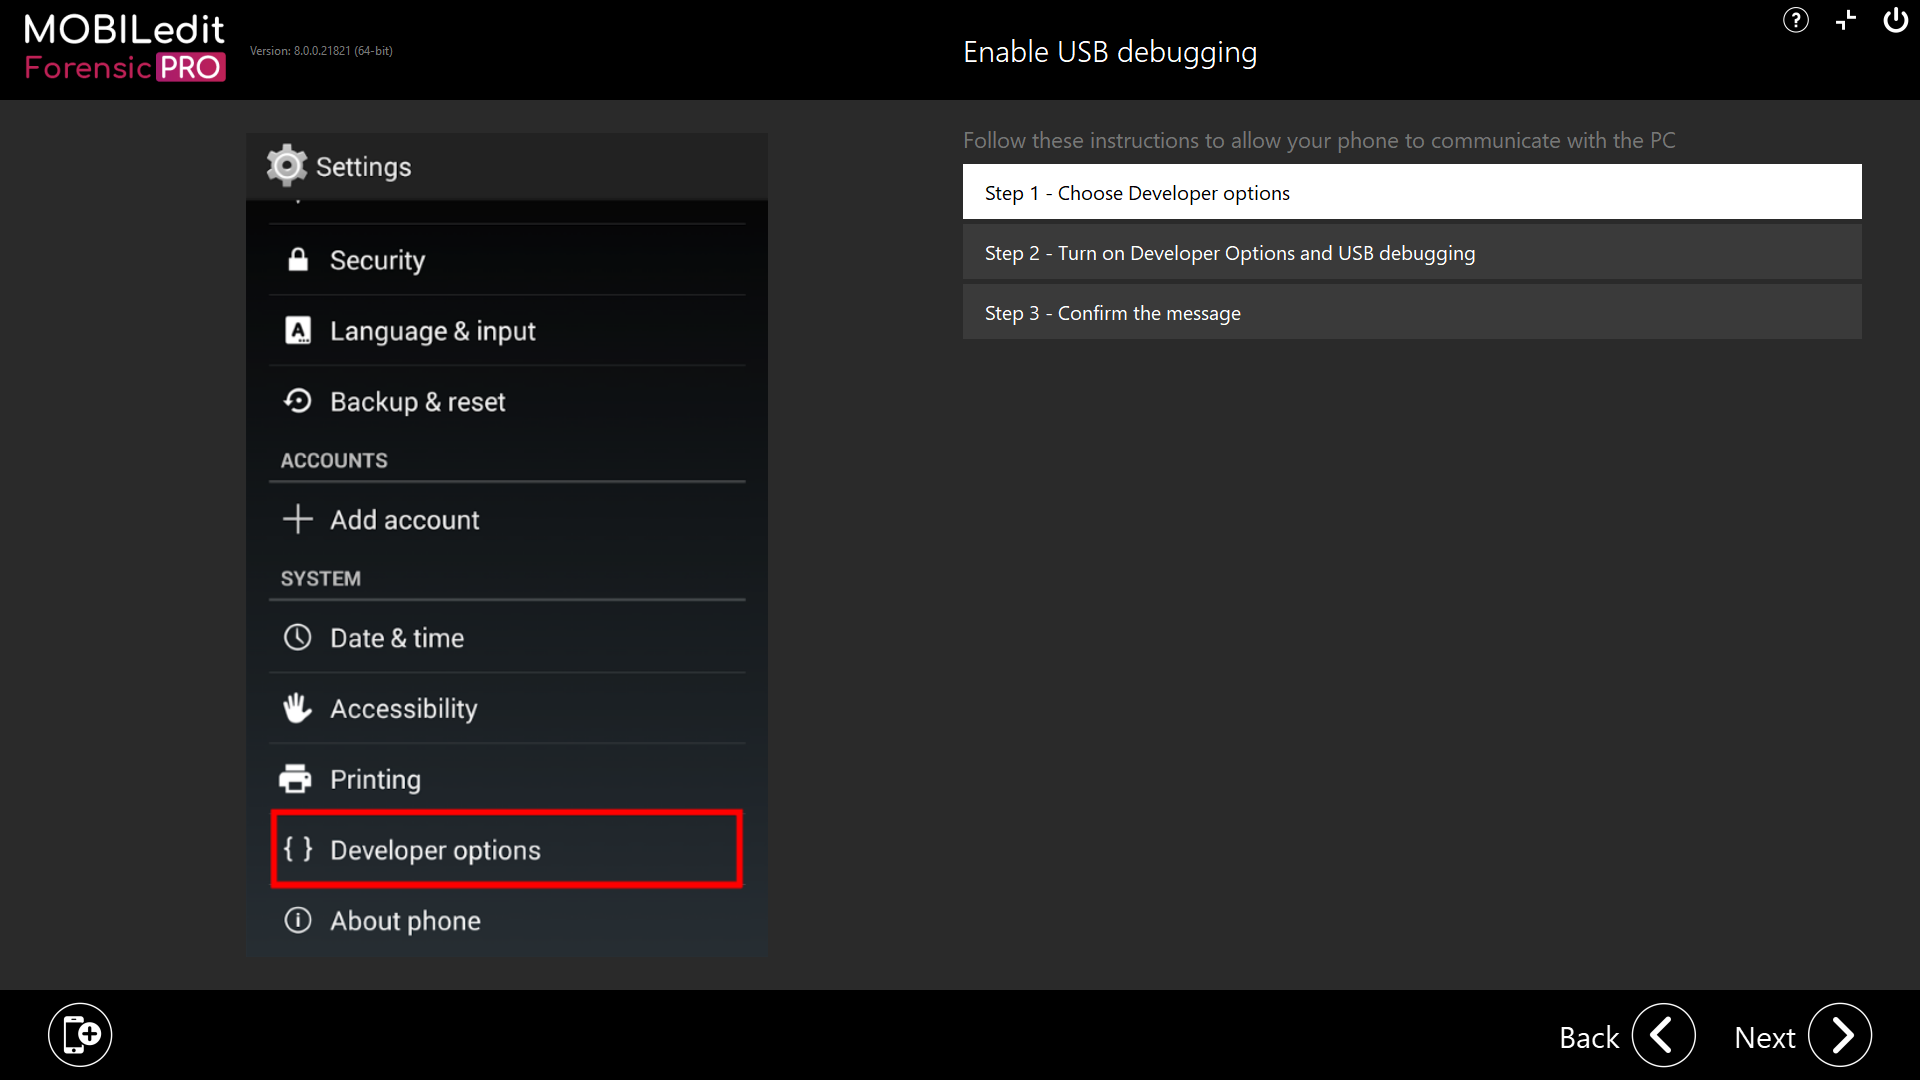
The next few screens will guide the user on how to enable the Developer options on the device, which is required for a proper working connection.

After enabling developer mode click the "Next" button and proceed with the next few steps about how to enable USB debugging on the phone, which will provide stable and working communication between the phone and the computer.

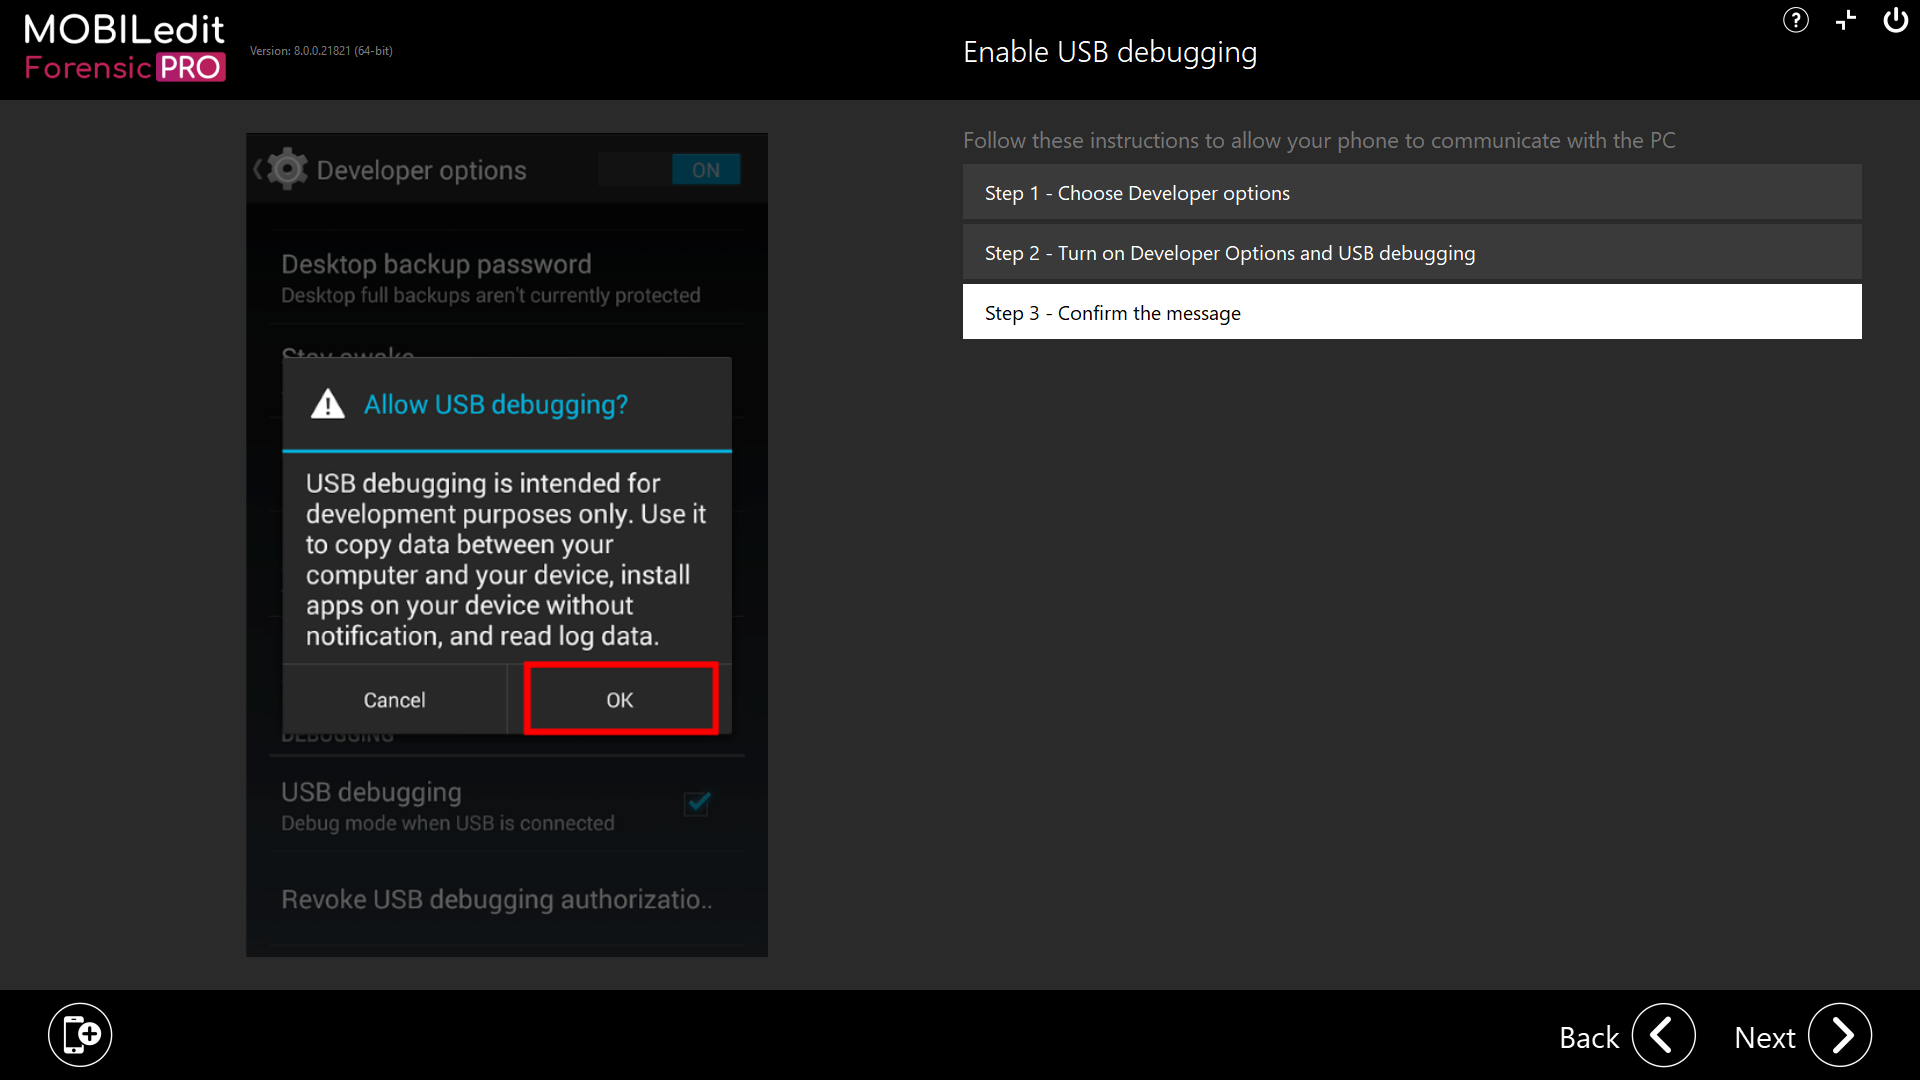
The last step of the Android connection wizard asks the user to allow the RSA confirmation and to choose either the PTP or MTP communication protocol - choosing either option is ok. Please note that "Charge only" should not be selected because no data will be obtained from the phone when connected in this way.
.PNG?cb=ab5722343a4e762922f6d64600bc095f)
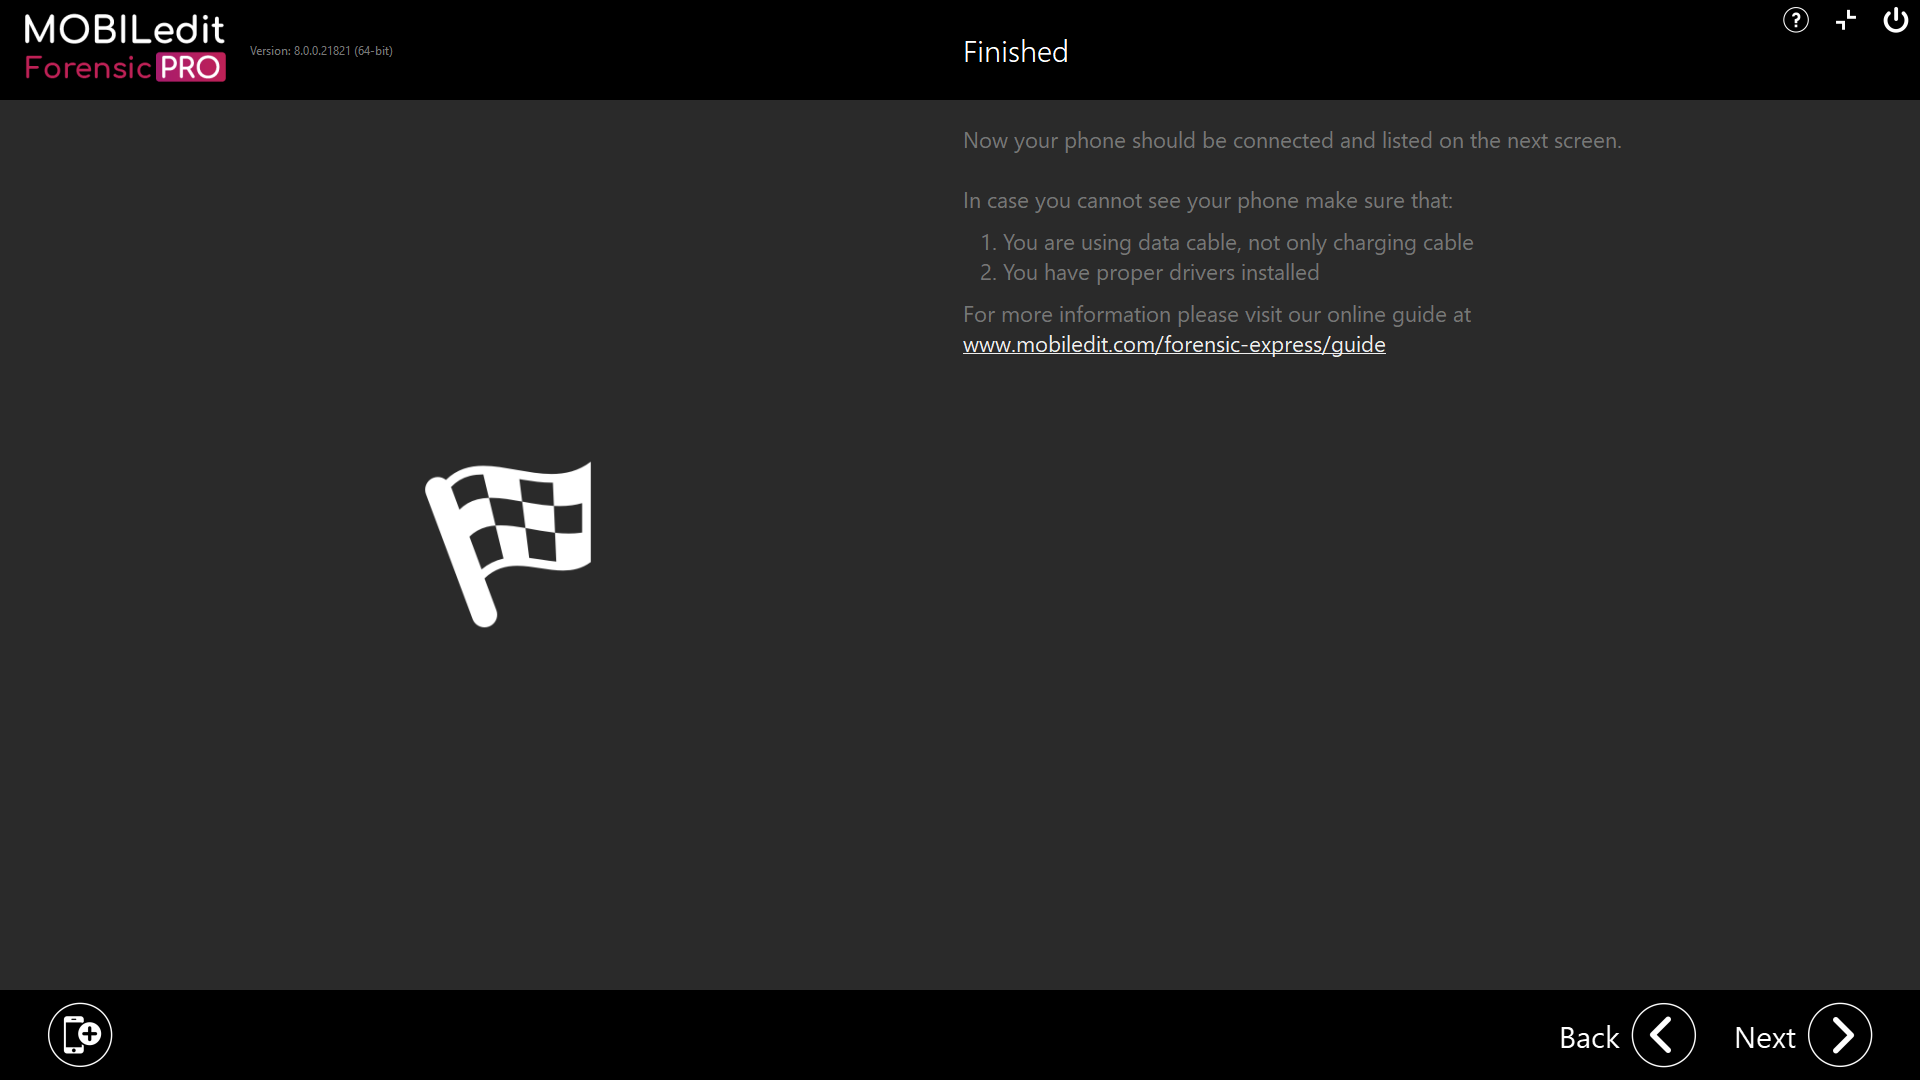
The phone should now be connected properly. If you have not successfully connected, the last screen of the wizard will offer tips that could give you a reason for the phone not connecting to MOBILedit Forensic. This page also provides a link to a more detailed web-manual.
.PNG?cb=f572230bfc7f2605c06c49abb038f72b)
Wi-Fi connection
.PNG?cb=7b27dcc78b9863acccdf341920a91285)
To connect a phone via Wi-Fi, the user will first have to install the "Connector App". The first few steps of the wizard will tell the user how to download it and how to work with it, so a proper connection can be established.
After the IP address is filled in correctly, the phone should be connected and visible on the intro screen. If it isn't, the last screen of the wizard will provide tips that could give you a reason for the phone not connecting to MOBILedit Forensic. This page also provides a link to a more detailed web-manual.
iPhone

The first screen of the iPhone connection wizard shows a warning that unlocking the phone is essential for data extraction. Please have the phone unlocked.
The next screen shows all info about jailbreaking the device, which is a highly recommended step for iOS devices because, in most cases, jailbreaking will provide much more data from the phone.
More info on how to jailbreak an iPhone is available here.

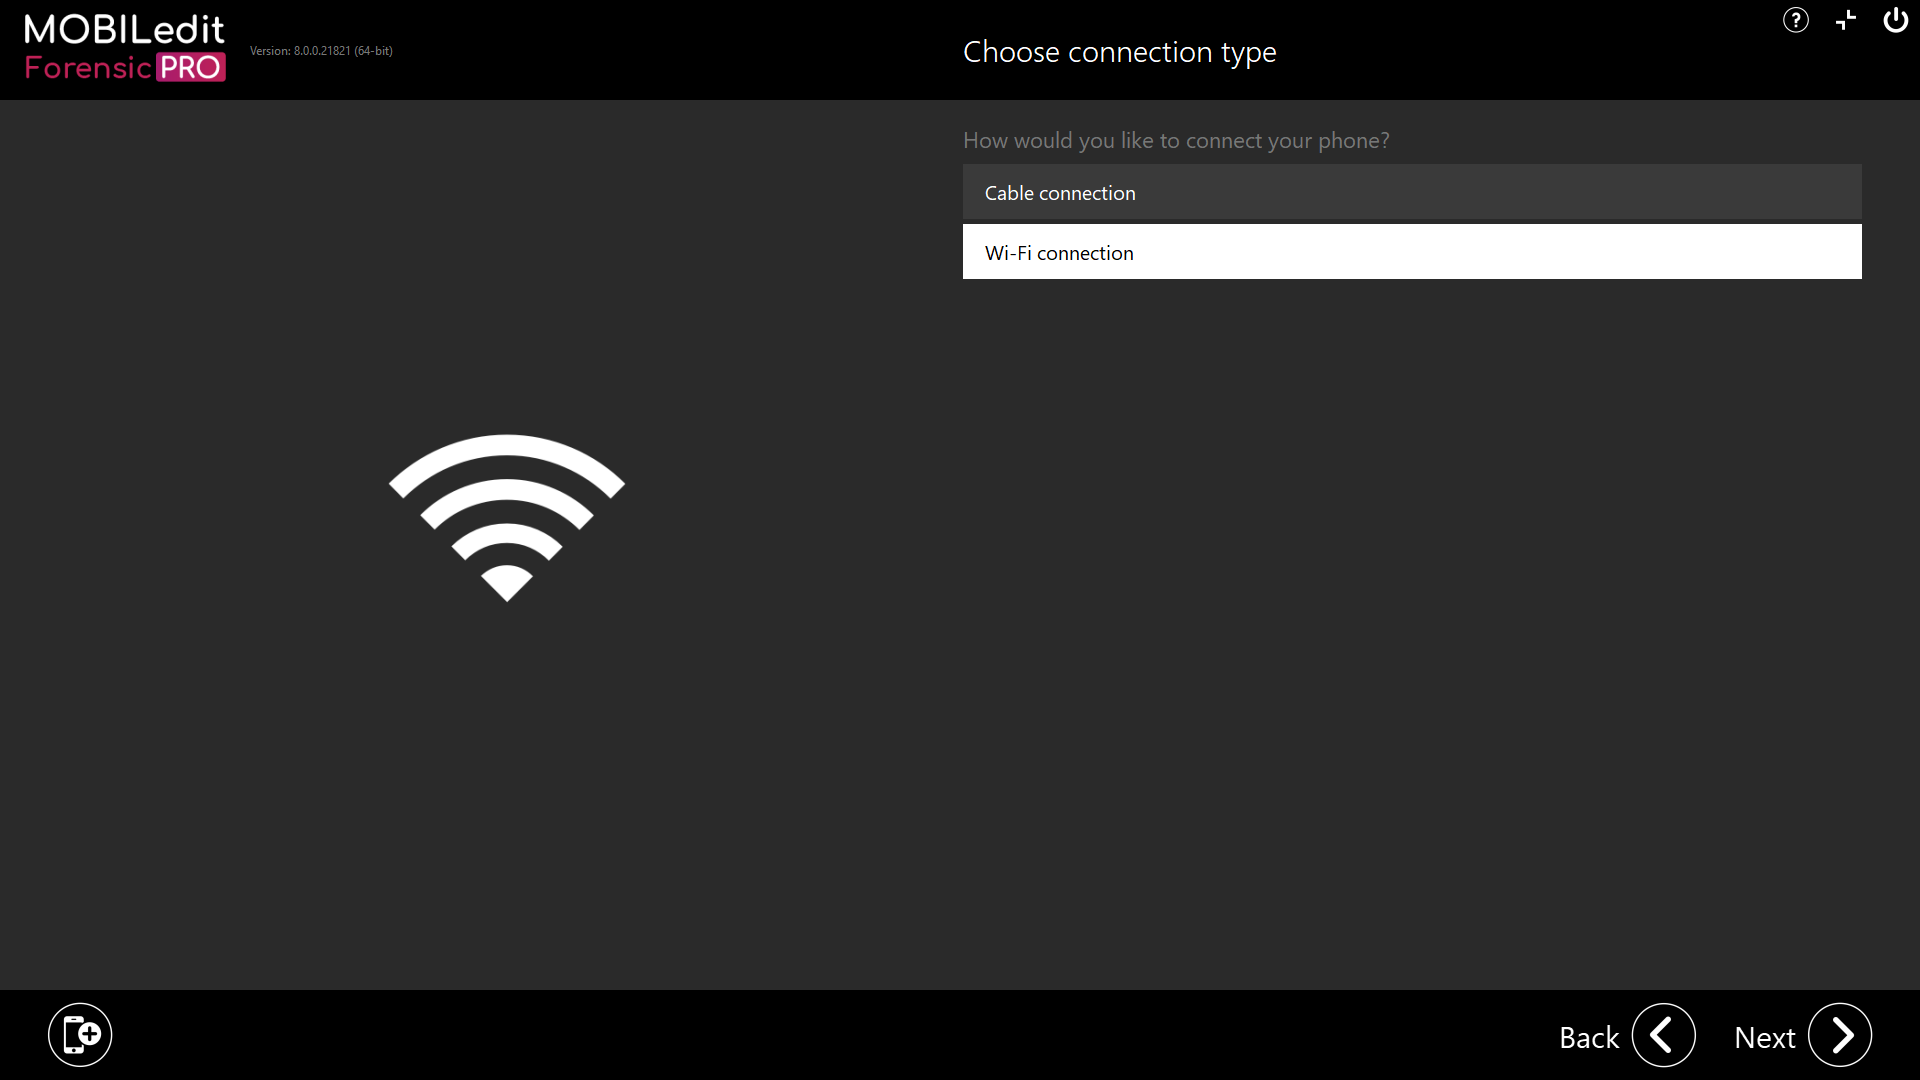
The next step allows the user to choose between USB cable and Wi-Fi connection of the phone.
Cable connection
-
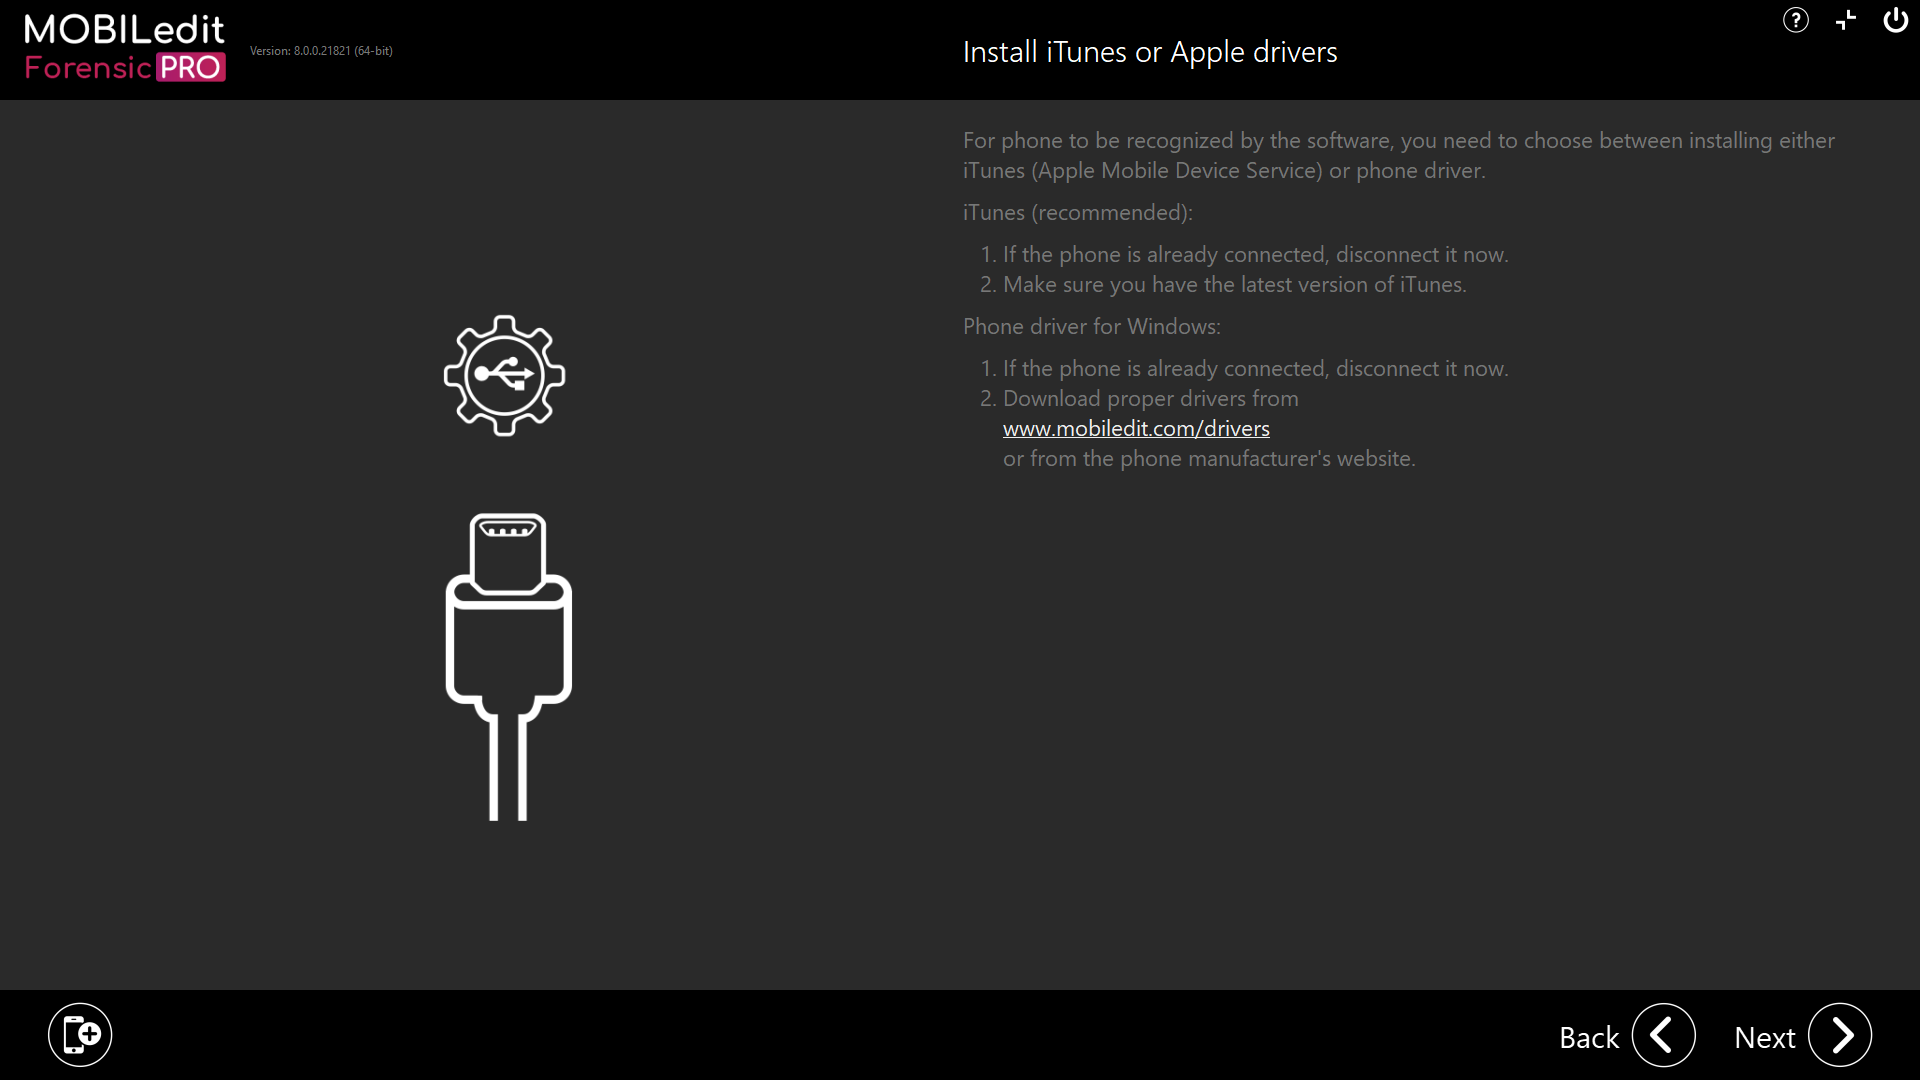
Install iTunes or Apple drivers:
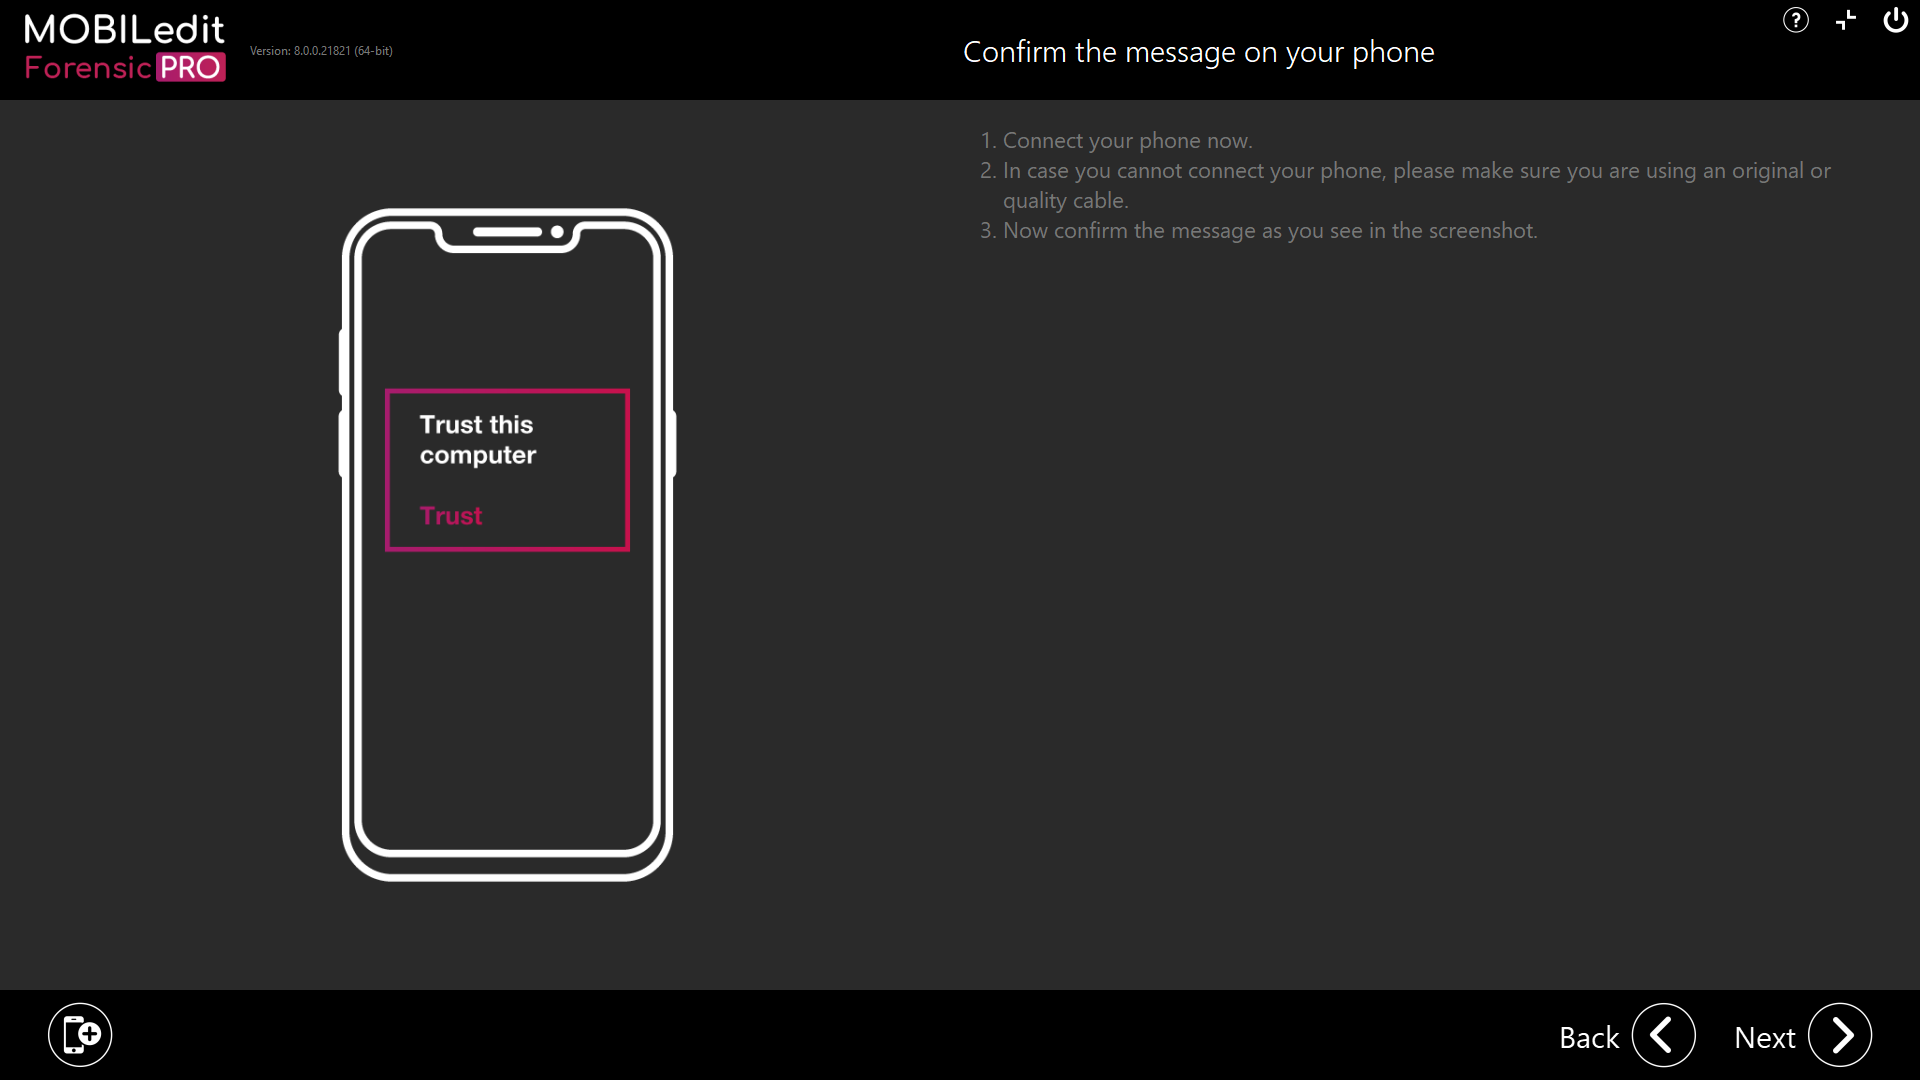
2. Confirm the trust message on the device's screen.
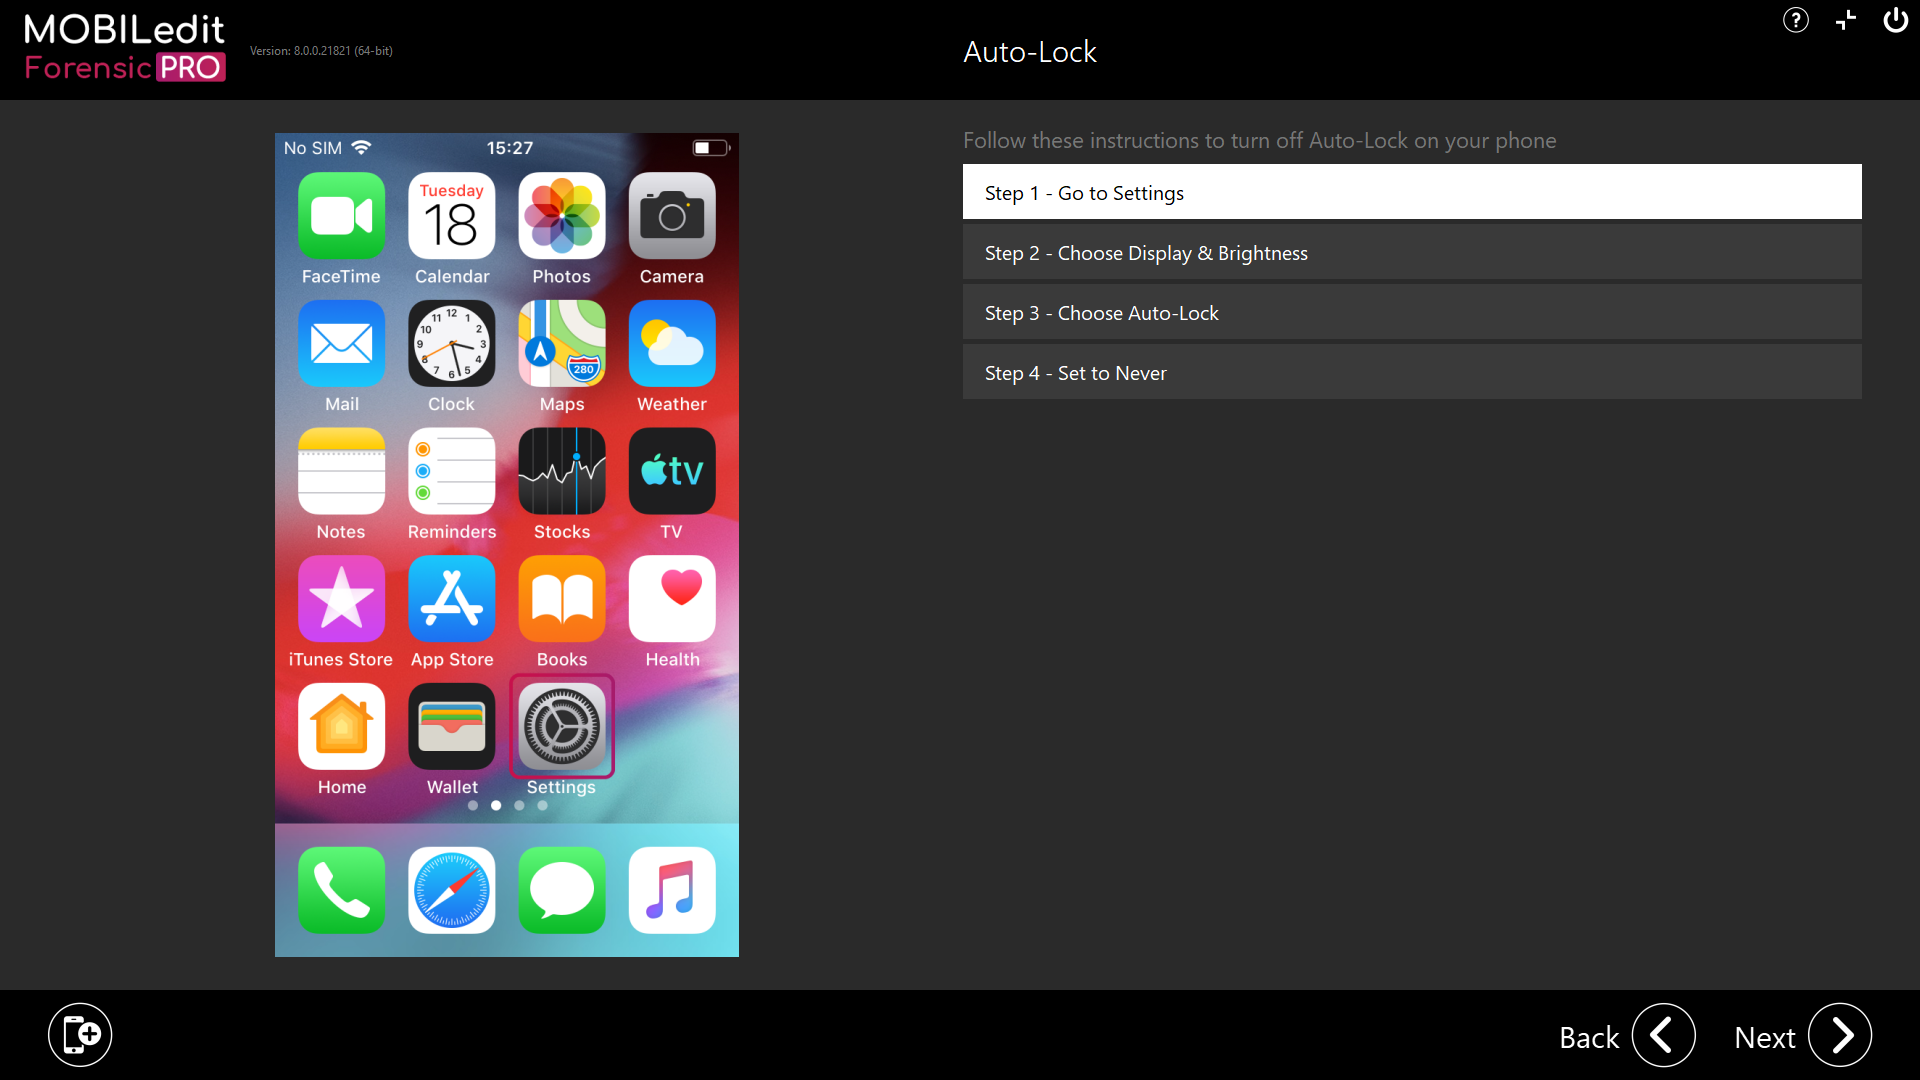
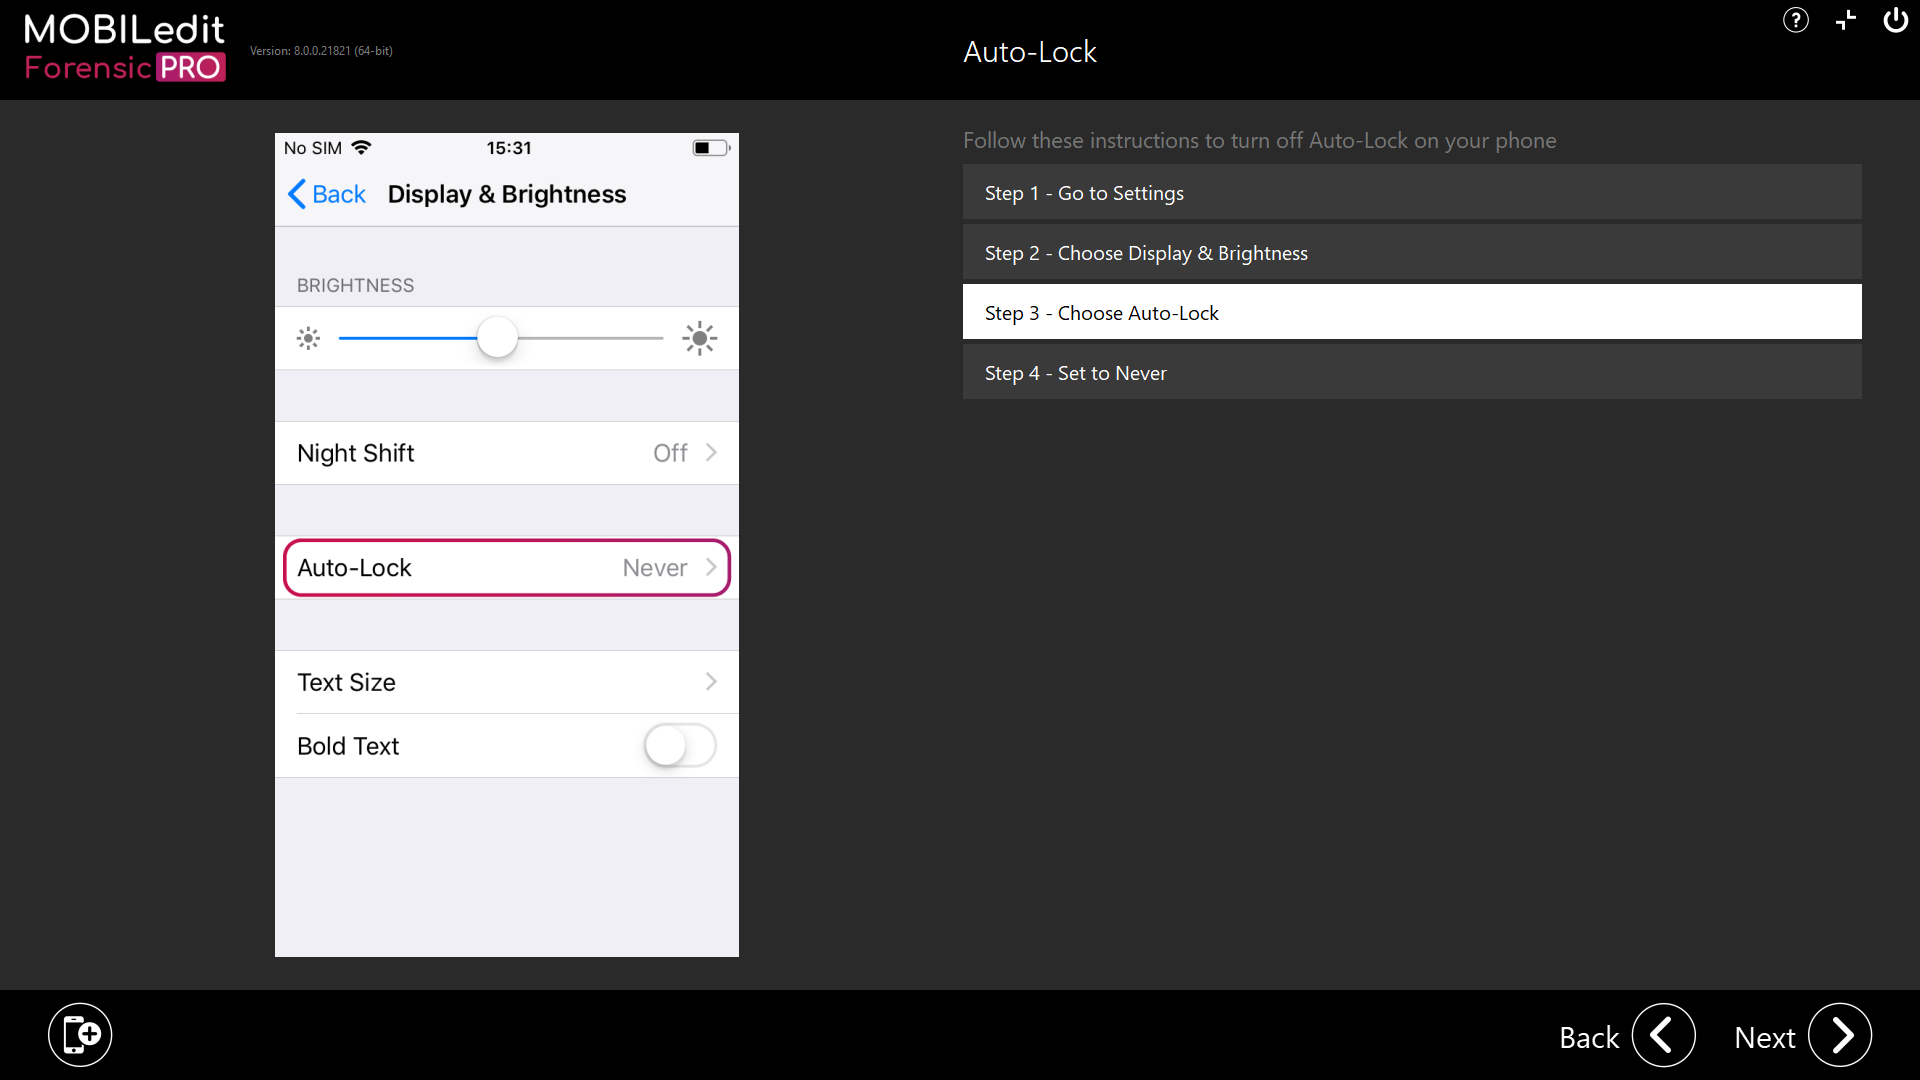
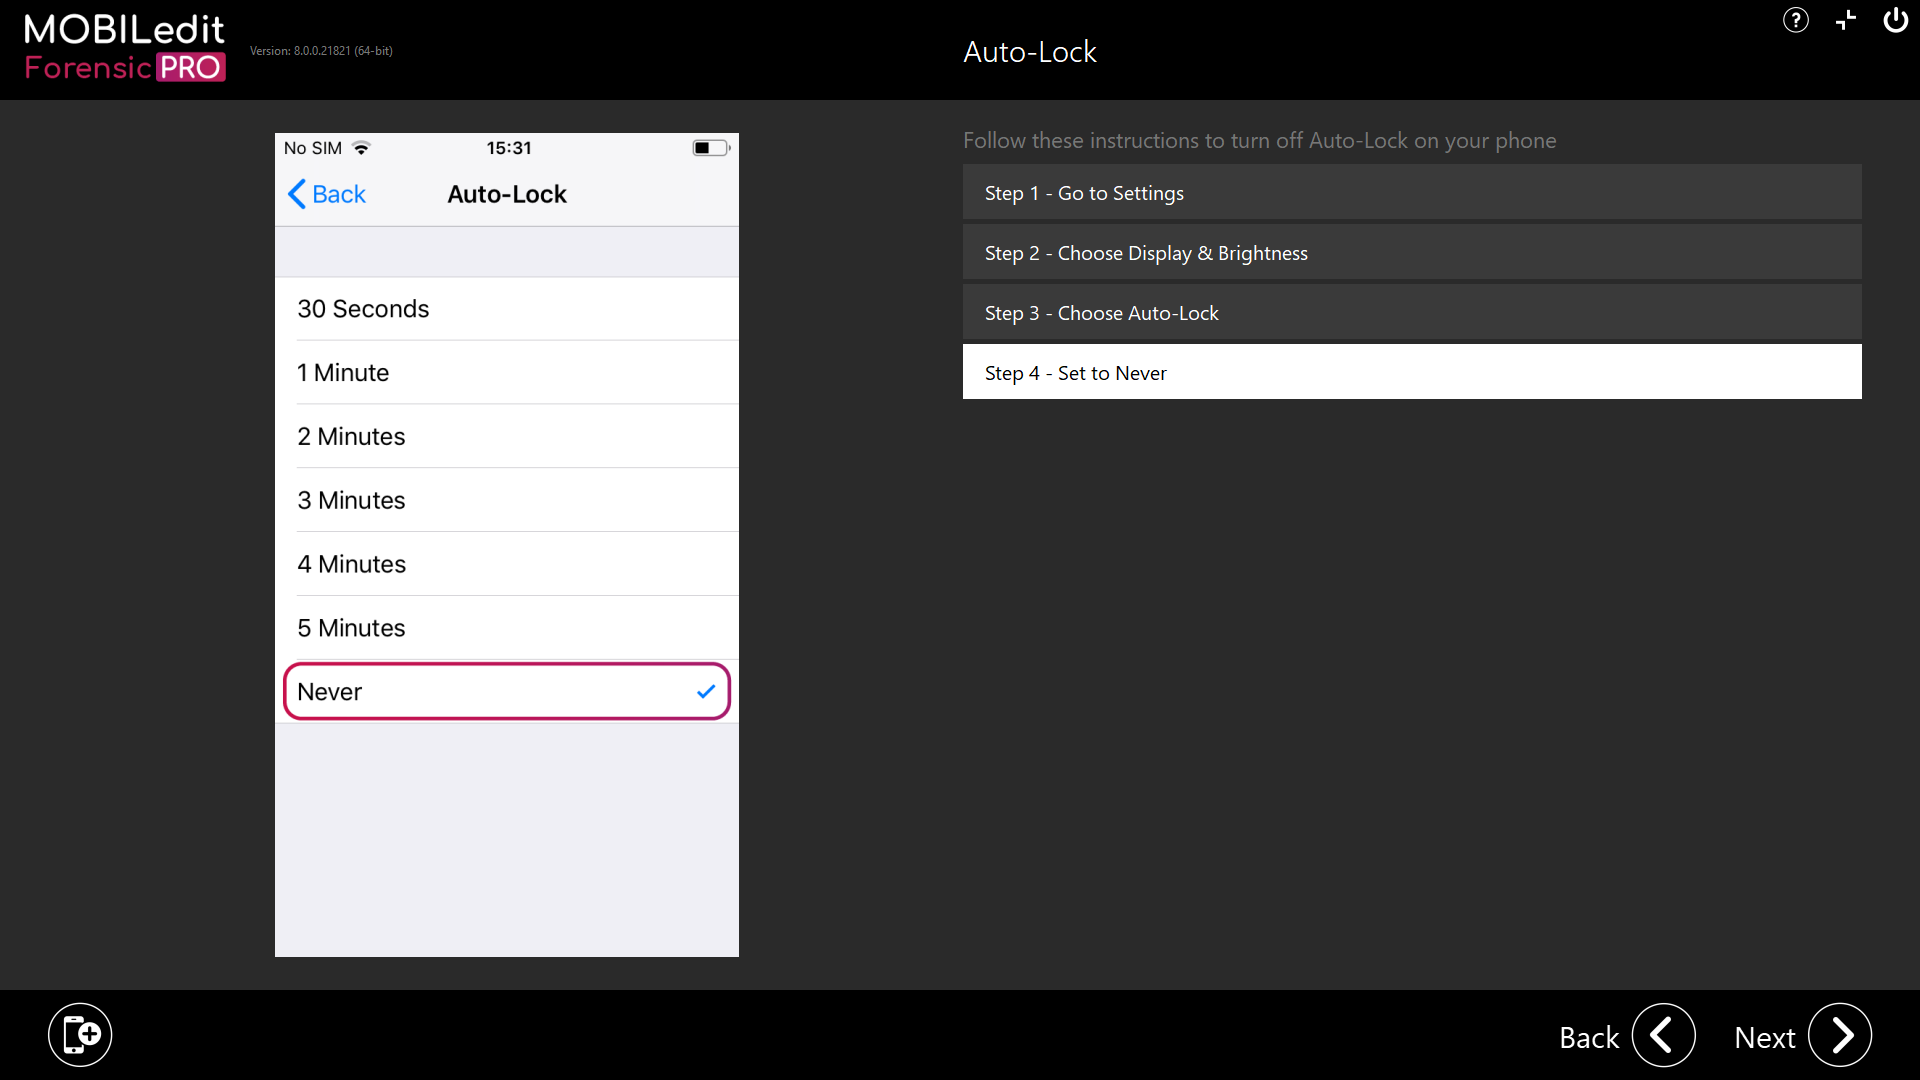
3. Go to Settings.
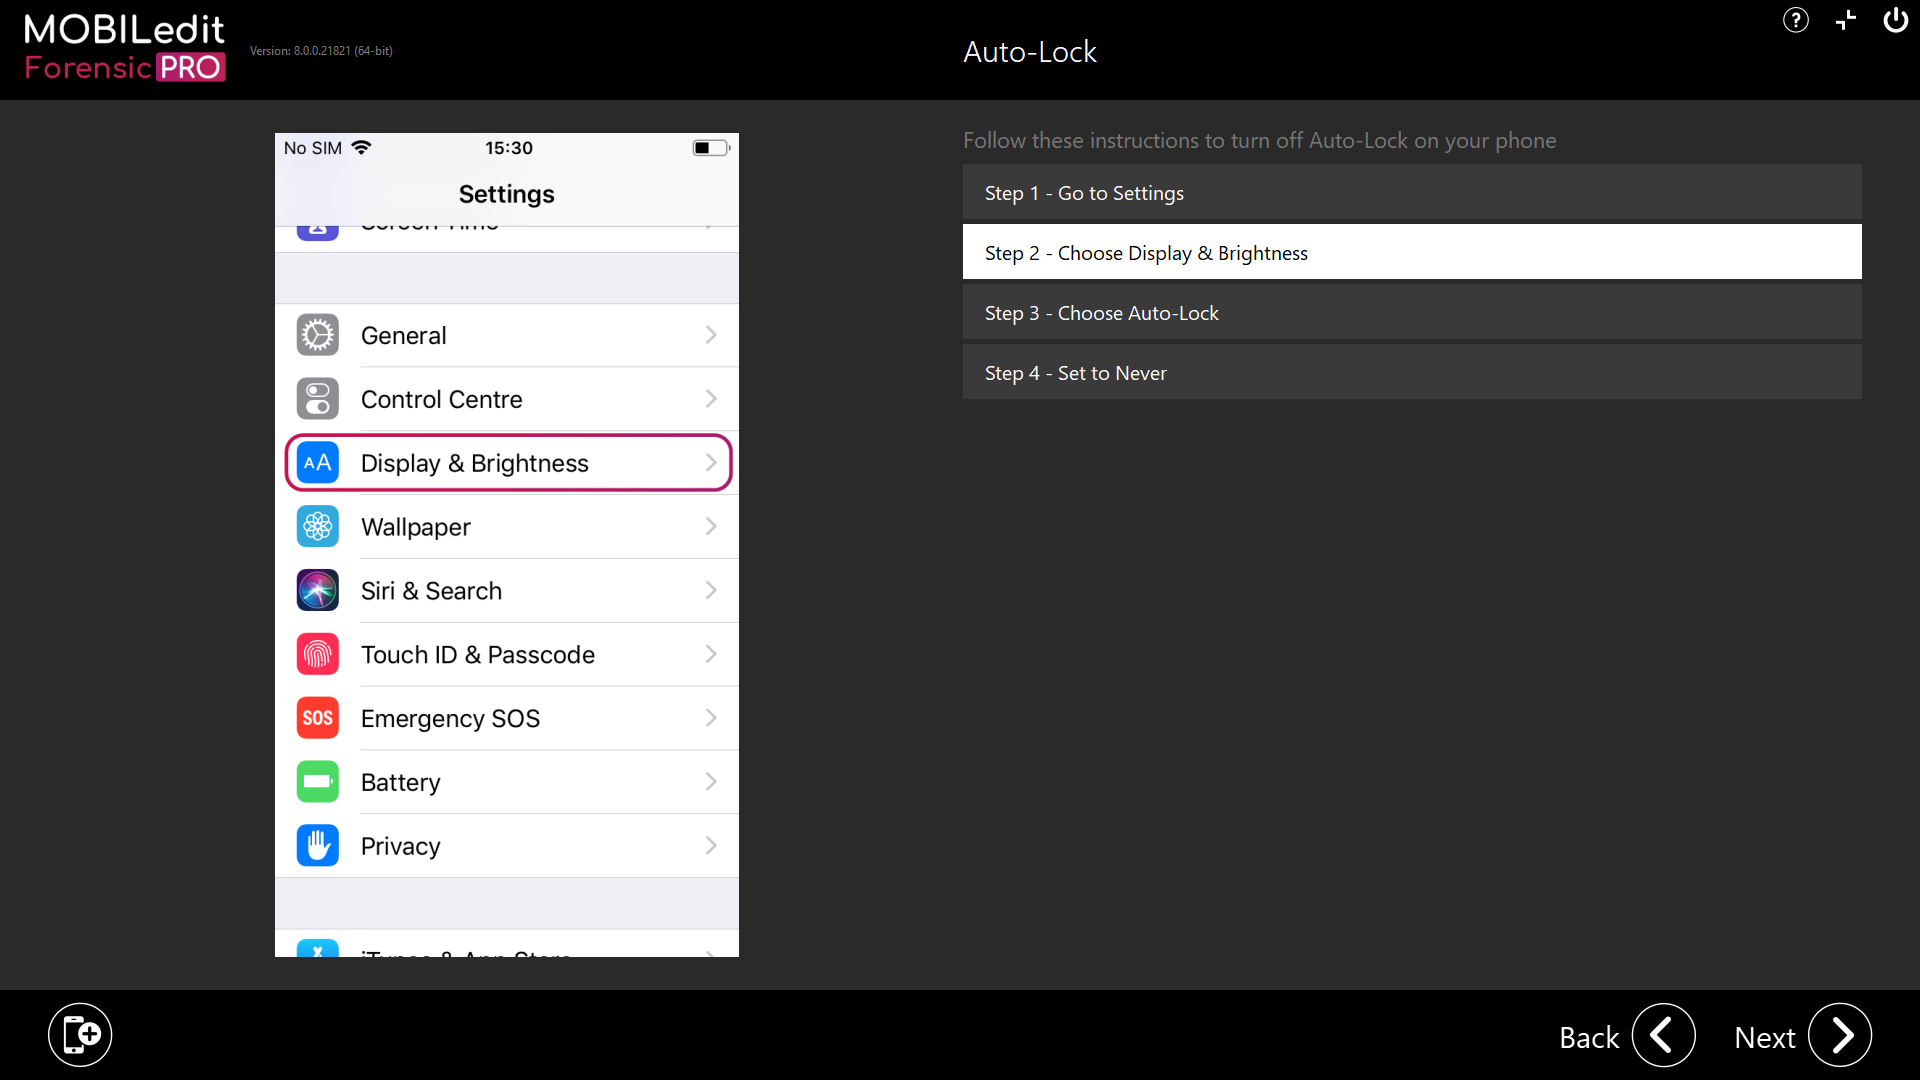
4. Choose Display & Brightness.
5. Choose Auto-Lock.
6. Set to never:
The phone should now be connected properly. If it isn't, the last screen of the wizard will provide tips which could give you a reason for the phone not connecting to MOBILedit Forensic. This page also provides a link to a more detailed web-manual.

Wi-Fi connection
To connect an iPhone via Wi-Fi, the user will need the MOBILedit App. You can download the MOBILedit app from App Store for free. The first few steps of the wizard will tell the user how to download it and how to work with it, so a proper connection might be established.
-
Tap connect in the app.
2. Fill in the IP address from the phone screen.
Once the IP address has been filled correctly, the phone should be connected, and this will be visible on the intro screen. The phone should now be connected properly. In the case it isn't, the last screen of the wizard will provide tips that could give you a reason for the phone not connecting to MOBILedit Forensic. This page also provides a link to a more detailed web-manual.
Windows Phone
In order to connect a Windows Phone, the correct drivers need to be installed on the computer. These drivers can be found here. The first screen of the connection wizard will guide the user through the process of installing these drivers.
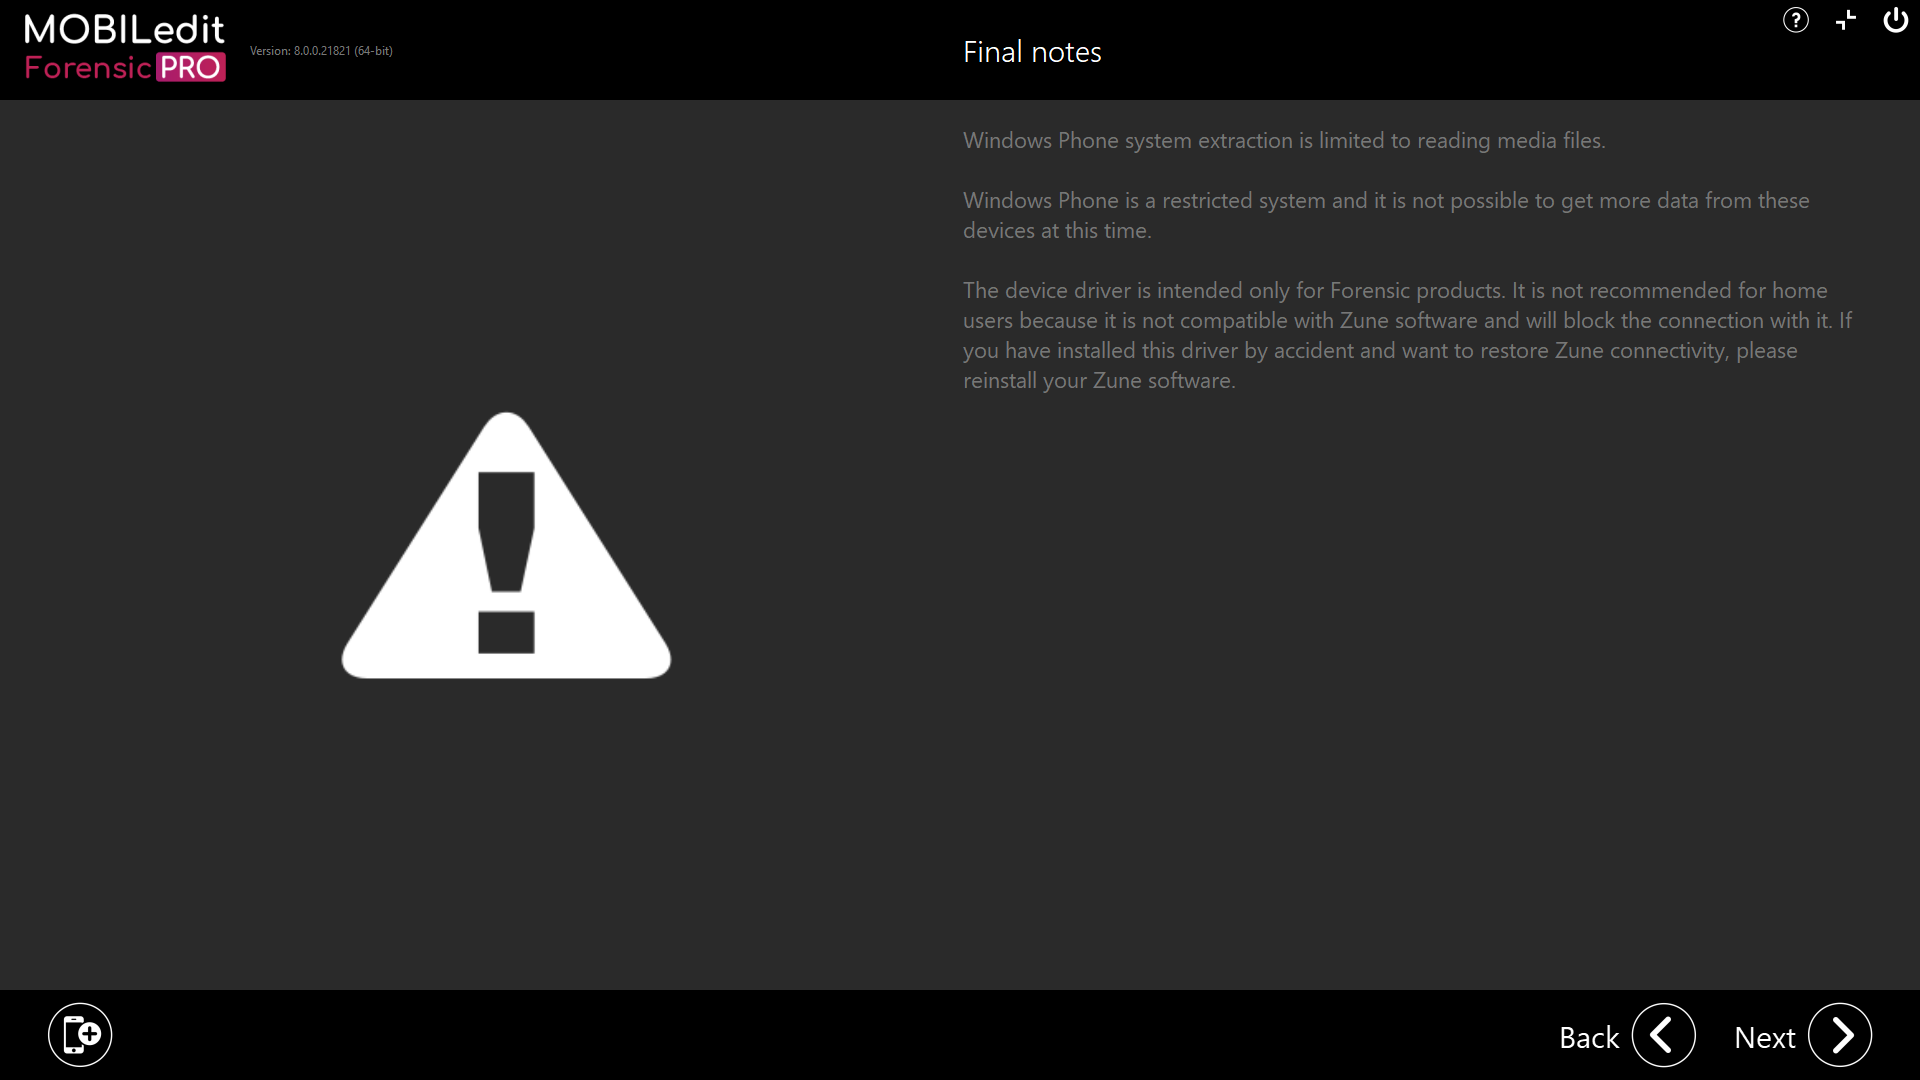
Please note that these drivers might disable the phone's communication with standard programs and thus are intended to only be used for data extraction by professionals, as mentioned on the second screen.
The phone should now be connected properly. In case it isn't, the last screen of the wizard will provide tips that could give you a reason for the phone not connecting to MOBILedit Forensic. This page also provides a link to a more detailed web-manual.

Other phones
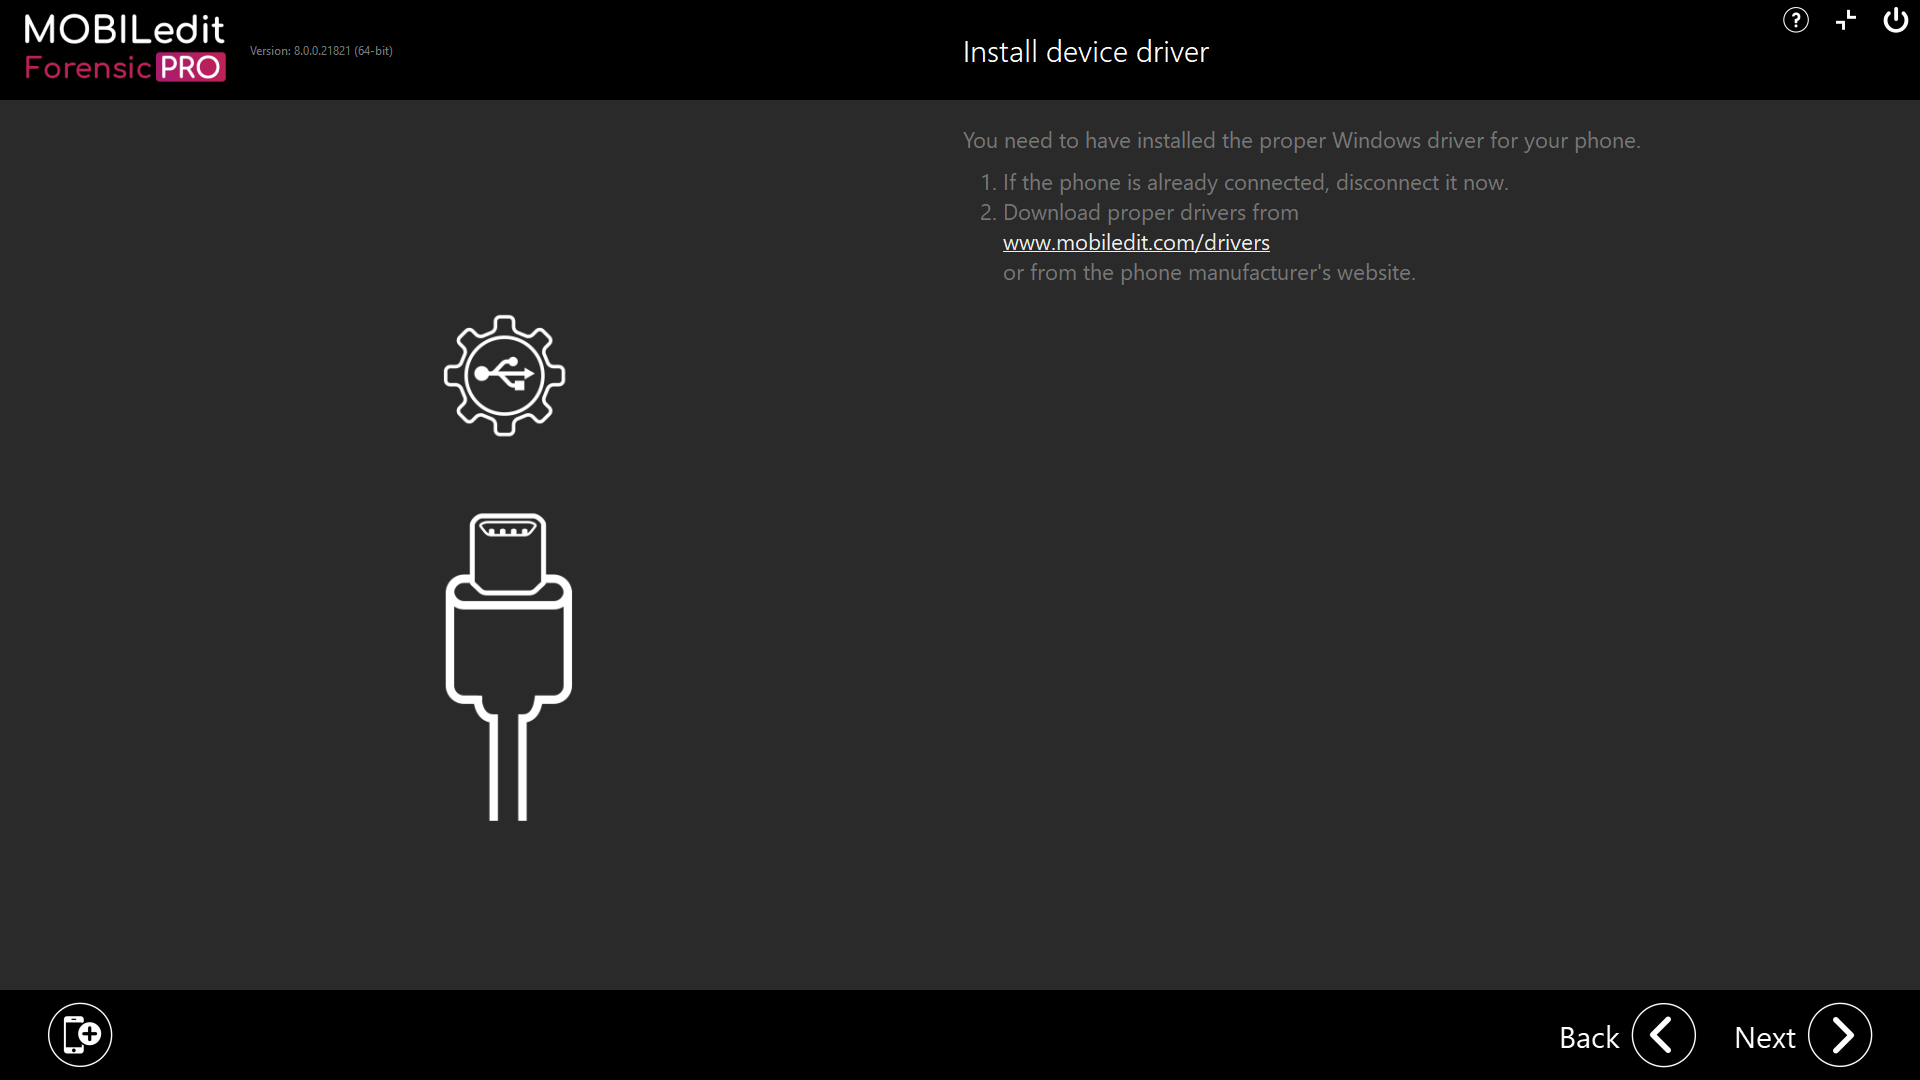
For connecting other phones (feature phones, etc.) one must have the proper drivers installed on the computer. The first screen of the manual will show the user how to do so.
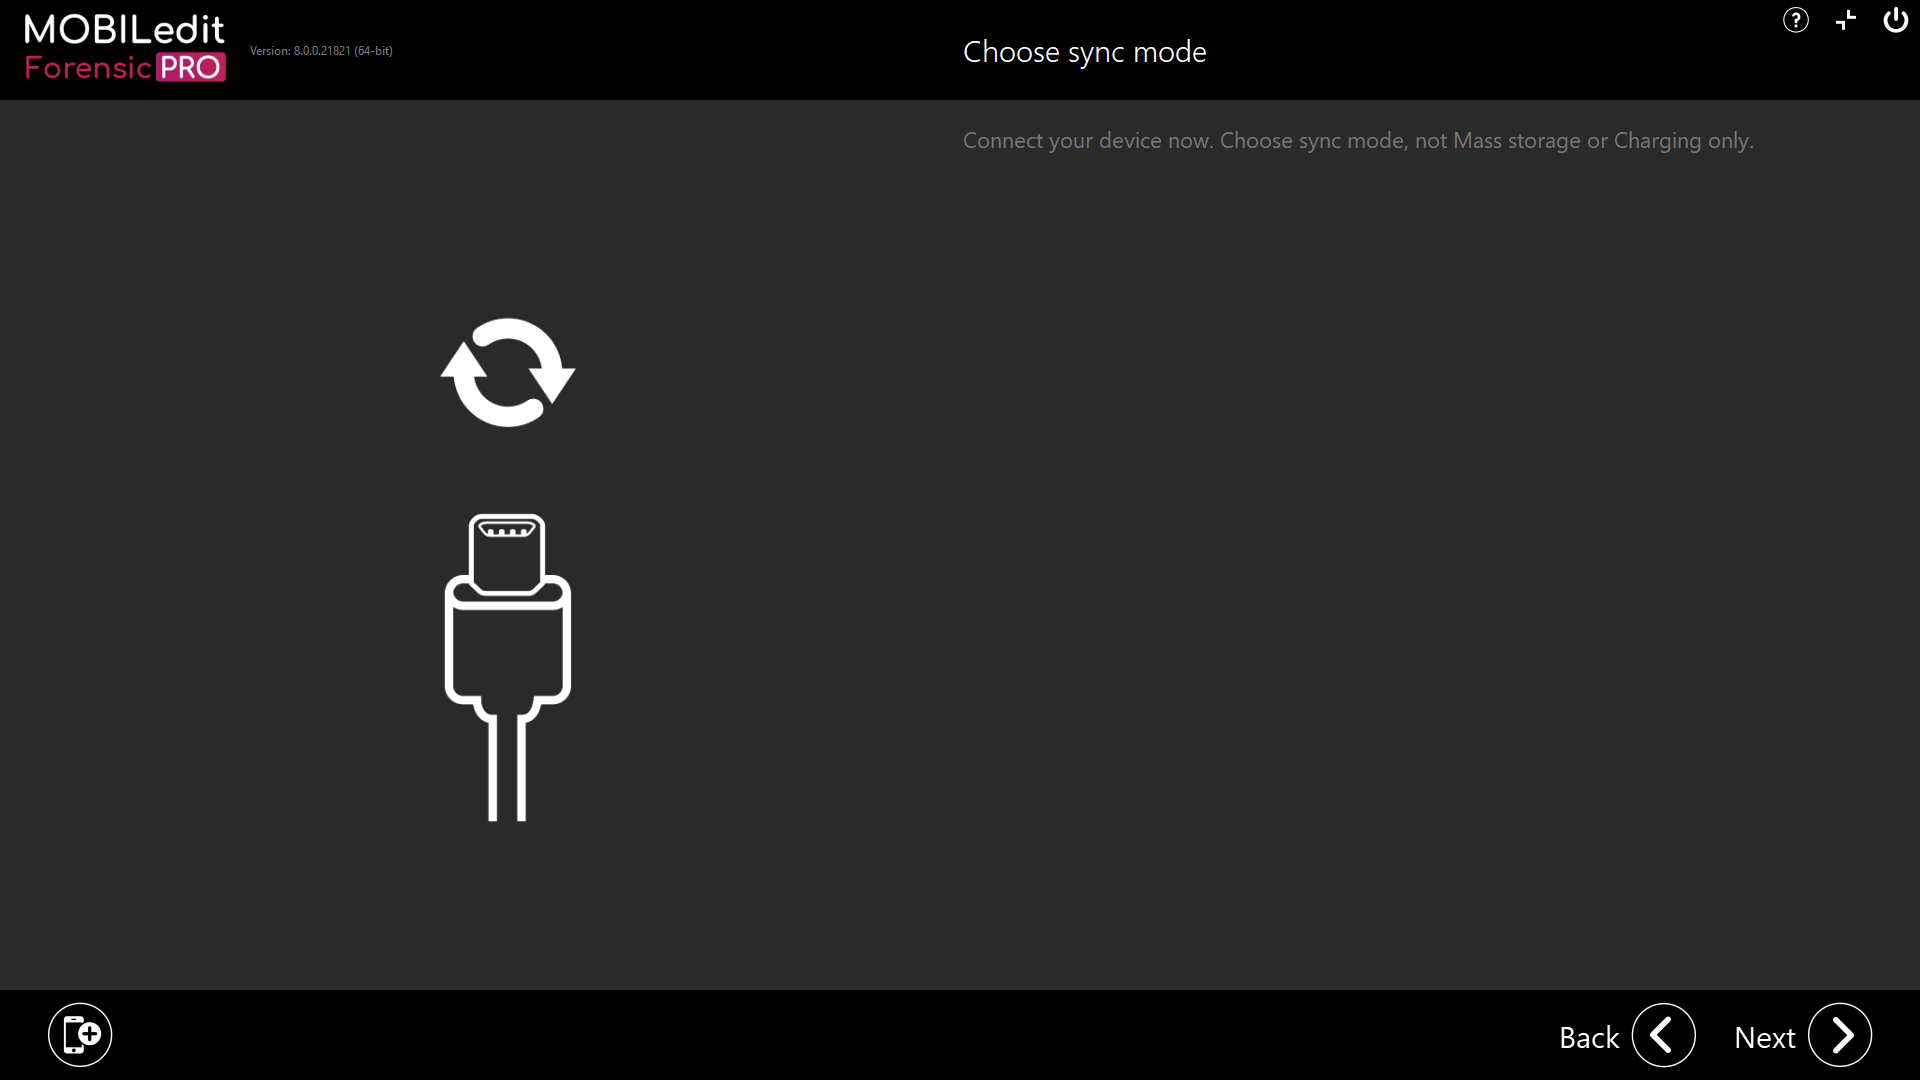
For proper communication of the phone with the computer, it is essential to connect it in the sync mode (please note that connecting as 'charge only' or as 'mass storage' might disable extraction of any data from the phone).
The phone should now be connected properly. If it isn't the last screen of the wizard will provide tips that could give you a reason for the phone not connecting to MOBILedit Forensic. This page also provides a link to a more detailed web-manual.