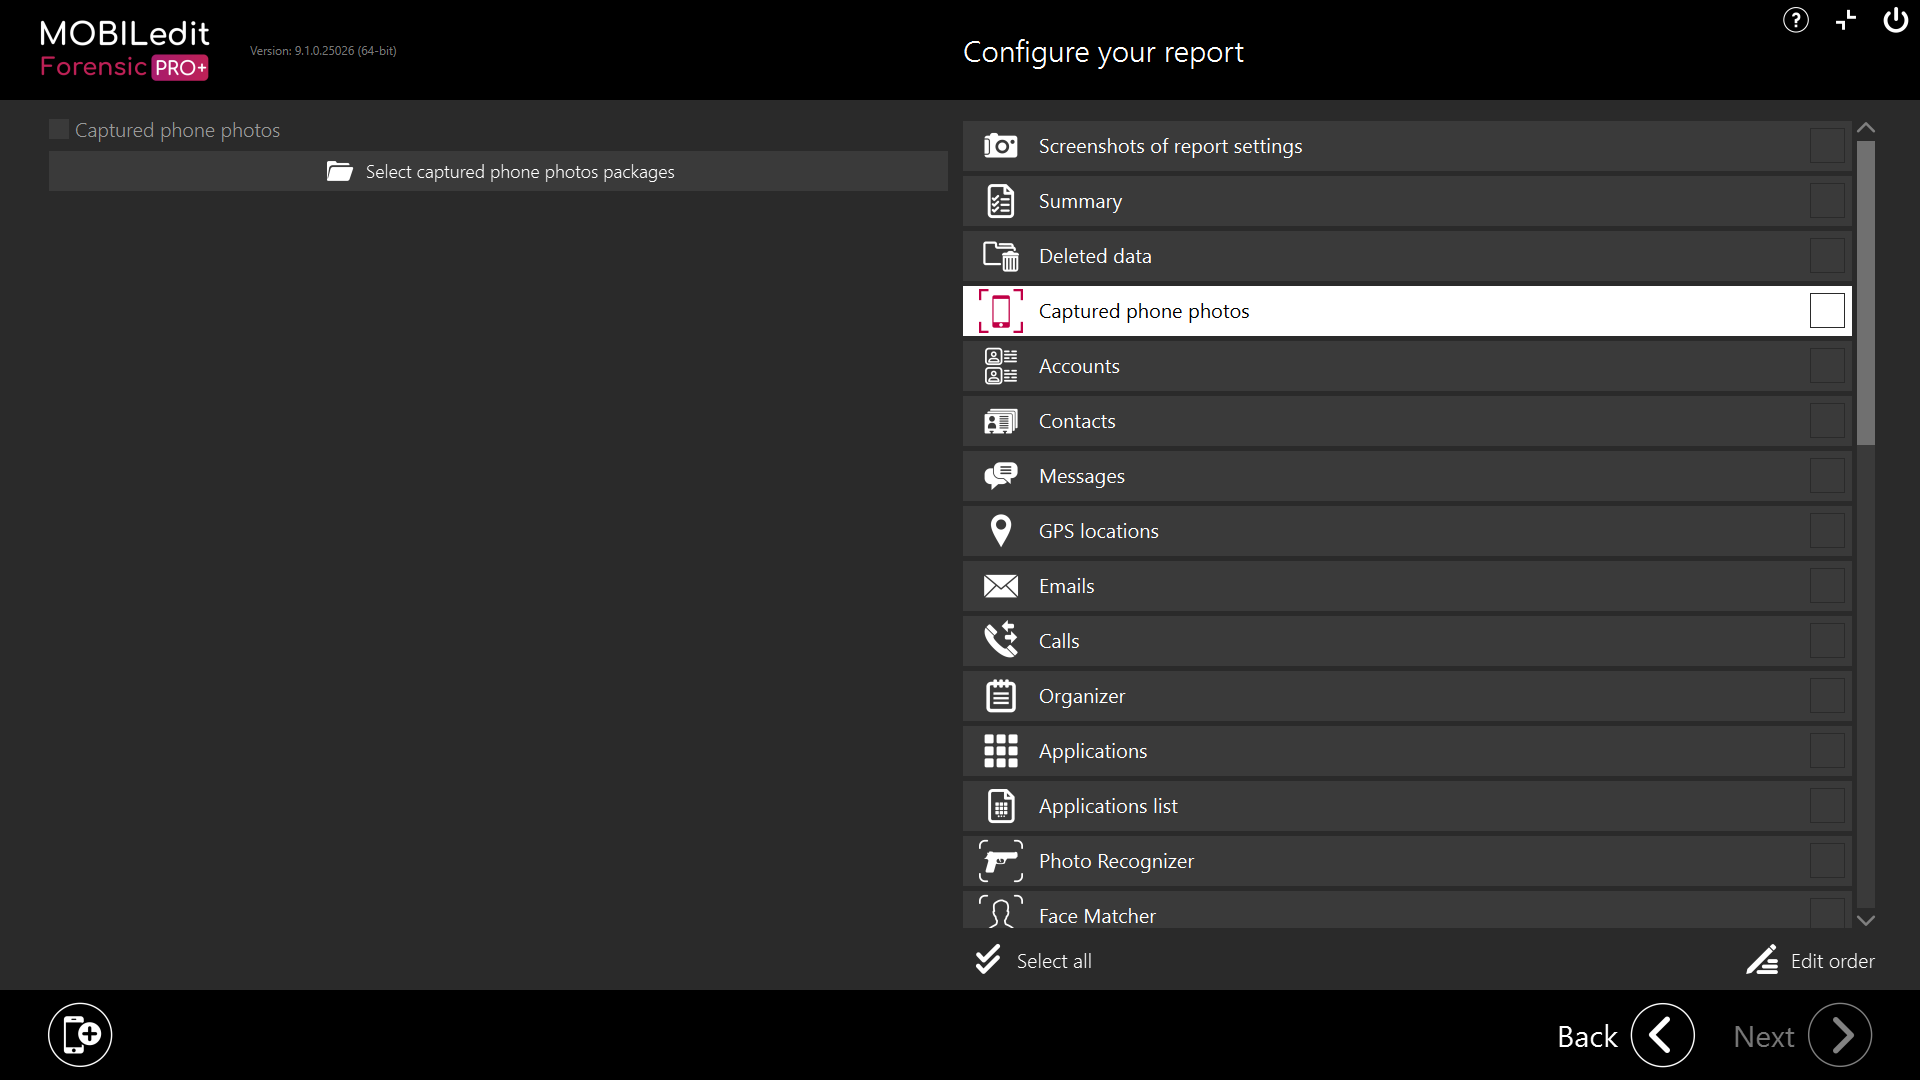
Data - Captured phone photos

Captured phone photos selection allows you to:
Webcam: take a picture of the phone under investigation using the web camera
Phone: capture a screenshot of the currently connected phone (Android and iOS only)
Import: select photos of your choice from your internal or external drive
Capturing screenshots from the phone might be very useful when you need to add data to your report that cannot be obtained by other methods. For example, encrypted application chat conversations from unrooted devices.
Take picture
This feature allows you to take a picture of the phone or a device you are going to investigate by using your webcam. You can take as many pictures as you need and these will be added to the report.
Click on “Webcam” :

A new window will appear, aim your webcam at the investigated device and click on “Take photo”:
Add: saves the photo you have just taken.
Discard: returns you to the previous window.
Close: closes the window (all changes will be forgotten).
Each captured image can be marked with an image type and a note. The number of pictures you can take is unlimited.
Capture screenshot
Simply take a screenshot of anything displayed on your device.
Click on the “Phone” button, the captured screenshot will be saved under the menu on the left side of the screen:

With the launch of iOS 16, "Developer Mode" must be enabled in order to capture a screenshot. How to enable "Developer Mode" for iOS 16 and above, click here.
Semi-automatic capturing
This feature is for Android devices only.
For automatic scrolling select the direction of the scroll and click on “Start”.
Select "Scroll Up" to capture bottom-up content.
Select "Scroll Down" to capture content from top to bottom.
MOBILedit Forensic will scroll and take screenshots until it reaches the end of the content, or until you press the Cancel button during capture progress.
Each captured screenshot can be marked with an image type and a note. The number of screenshots taken is unlimited.
For Xiaomi devices with MIUI, you need to enable "USB Debugging (Security Settings)" in "Developer Options".
More information can be found here.
Import
Click on “Import”:

Browse the folder with your desired photo and click on “Open”:

All the imported photos appear in the list:

Each captured image can be marked with an image type and a note. The number of pictures taken is not limited.
Example of a report with captured Phone photo:
